Introduction
Mini blinds are popular window treatments that offer both privacy and light control. However, the installation process can be intimidating for some homeowners. Learning how to install mini blinds with metal brackets can easily transform your space without the need for professional help. This guide will provide detailed instructions and valuable insights to make this DIY project manageable and enjoyable. After following this guide, you’ll be proud of your newly installed mini blinds, which will not only enhance your home’s decor but also serve practical purposes.

Why Choose Mini Blinds?
How to install mini blinds with metal brackets? Before we get into the installation process, it’s essential to understand the advantages of mini blinds. They come in various colors and materials, making it easy to find a set that matches your home decor. Mini blinds:
- Enhance Privacy: They allow you to control visibility from the outside.
- Regulate Light: You can easily adjust them to let in as much or as little light as you prefer.
- Easy Maintenance: A simple wipe-down is often all it takes to keep mini blinds clean.
- Versatile Design: They complement both modern and traditional home styles.
When you install mini blinds with metal brackets, you ensure a sturdy setup that can withstand regular use.
Tools and Materials Needed
The first step before installation is to gather the right tools and materials. Working with the correct equipment makes the installation process smoother and ensures a successful outcome. Here’s a detailed list of what you will need:
- Screwdriver or Drill: A power drill speeds up the installation, but a manual screwdriver also works well if you’re comfortable using one.
- Measuring Tape: Precision is crucial when measuring the window frame to ensure a perfect fit.
- Level: To ensure your brackets and blinds hang straight and look professional.
- Pencil: For marking positions on the wall or window frame.
- Ladder: If you’re installing mini blinds in high windows, a sturdy ladder is essential for reaching safely.
- Mini Blinds with Metal Brackets: Ensure you have a complete kit with all necessary parts.
By having these tools at your disposal, you’ll be better prepared to tackle the installation effectively.
Measuring Your Window for Perfect Fit
Accurate measurements are critical to achieving the best fit for your mini blinds. Follow these steps for precision:
- Measure the Width: Use your measuring tape to measure the width of the window frame. If you plan to mount the blinds outside the frame, add extra inches on either side to create an illusion of a larger window.
- Measure the Height: Next, measure the height from the top of the frame to where you want the bottom of the blinds to sit. Typically, this is just above the window sill.
- Consider Mounting Options: You can either mount inside the frame for a sleek look or outside for maximum light coverage. Make your decision based on your preference.
Selecting the Right Mini Blinds
With numerous options available, choosing the right mini blinds can feel daunting. Here are some tips for selecting the best ones:
- Material: Aluminum mini blinds are durable and effective at blocking light. Vinyl options are often more cost-effective and suitable for humid environments like kitchens and bathrooms.
- Color and Style: Think about the overall color scheme of your room. Neutral colors blend seamlessly, while bold shades can serve as a statement piece.
- Size: Ensure the mini blinds fit your measurements. Most retailers provide a range of sizes, but if customization is required, consider ordering made-to-measure blinds.
Choosing the right mini blinds not only enhances your room’s aesthetics but also ensures functionality.
Preparing the Metal Brackets
After selecting your mini blinds, it’s time to prepare the metal brackets. Each kit usually comes with two or more brackets needed for installation.
- Read the Instructions: Review any provided instructions carefully. Some brands offer unique mounting hardware or specific steps to follow.
- Gather Your Brackets and Screws: Open the package and ensure you have all brackets, screws, and any additional hardware needed for installation. A quick inventory can save you from unexpected interruptions.
Installing the Brackets Step by Step
Now that you have everything ready, it’s time to start the installation process. Follow these straightforward steps for a successful installation of your mini blinds with metal brackets:
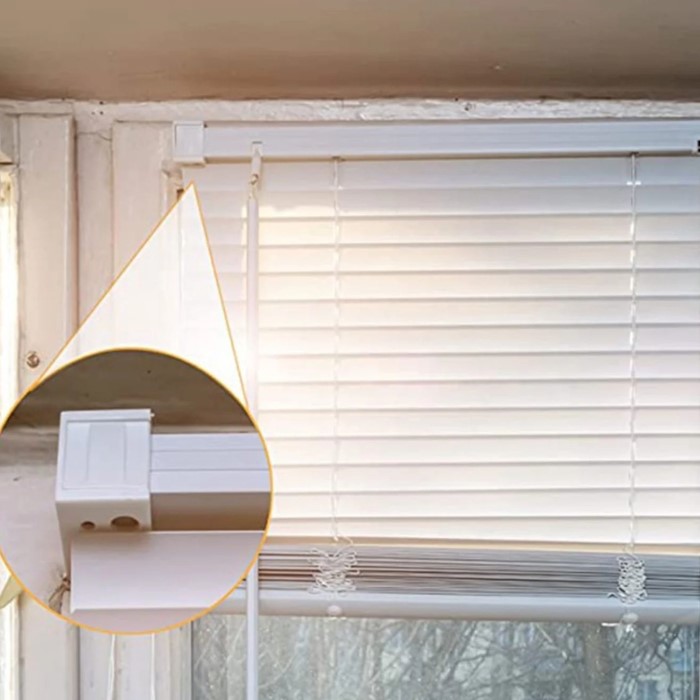
Position the Brackets
- Hold the brackets against the window frame at the desired height. If you are mounting inside the frame, make sure they fit snugly. For outside mounting, position them high enough to create an aesthetically pleasing look.
Mark the Holes
- Use the pencil to mark the spots where the screws will go. It’s important to mark each bracket precisely to keep them aligned.
Drill Pilot Holes
- If you’re drilling into wood or drywall, pilot holes can help ensure your screws go in smoothly. This step also prevents the material from splitting.
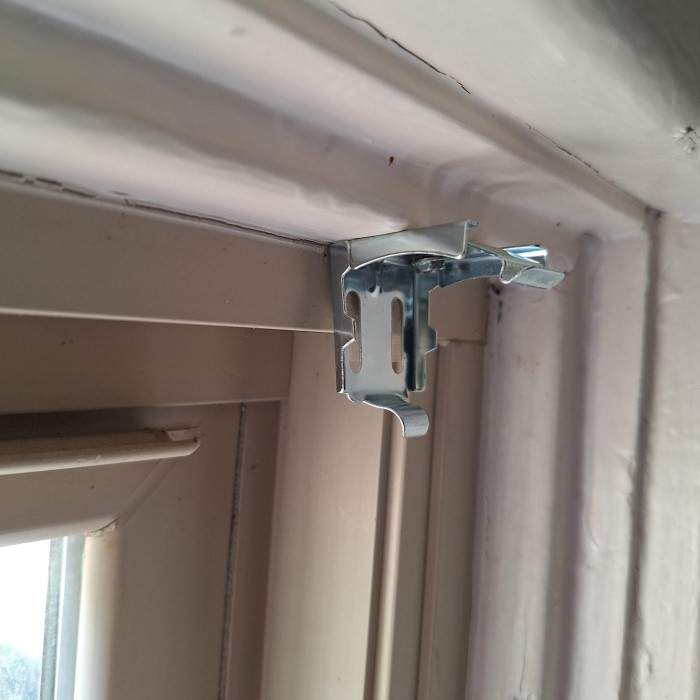
Secure the Brackets
- Align your brackets with the pilot holes and use the screwdriver or drill to secure them firmly to the wall or window frame. Make sure they are tightly fastened, as they will support the weight of the mini blinds.
Hanging the Mini Blinds
With the brackets in place, you can now proceed to hang the mini blinds.
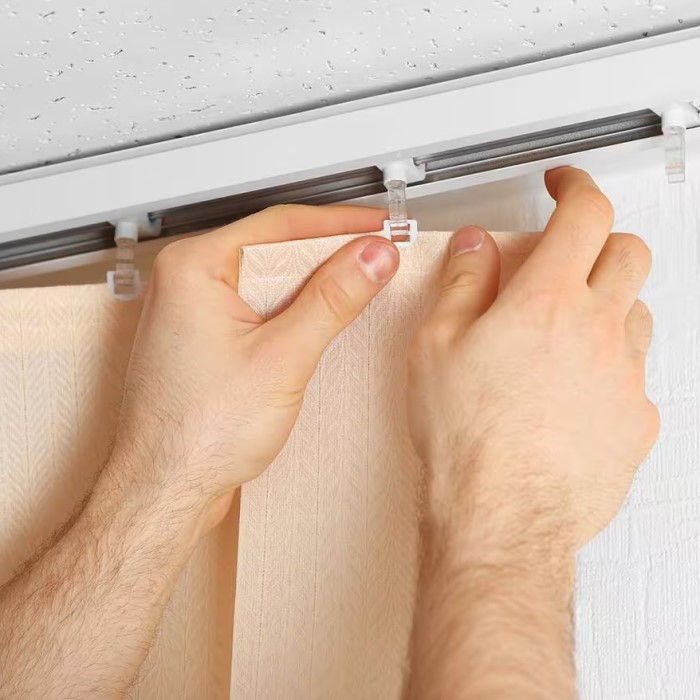
Insert the Headrail
- Take the headrail of the mini blinds and carefully slide it into the mounted brackets. This step may vary slightly depending on your bracket design, but it typically involves a simple slide-in mechanism.
Lock the Headrail
- If your brackets have a locking mechanism, ensure you engage it to secure the headrail in place. This step is vital for preventing the headrail from slipping out.
Test the Functionality
- Gently pull the cord to raise and lower the mini blinds. Make sure they operate smoothly without any hitches. It’s good practice to test them multiple times before considering the installation complete.
Troubleshooting Common Issues
Even with careful planning, some issues might arise during installation. Here are a few common problems and their solutions:
Blinds Won’t Move
- Check the Headrail: If your blinds are stuck and won’t move, the first step is to investigate the headrail. Ensure that it is properly locked in place. Sometimes, the mechanism can become dislodged, preventing the blinds from operating smoothly.
- Examine the Brackets: Next, take a closer look at the brackets that hold the blinds. Misalignment can prevent the blinds from moving. Make sure the brackets are secure, properly attached, and aligned correctly to facilitate free movement.
- Inspect the Mechanism: If both the headrail and brackets appear to be in order, examine the internal mechanisms of the blinds. Sometimes, the cords or pulleys may become tangled or stuck, preventing the blinds from functioning as intended. Clear any blockages if found.
- Consider Lubrication: Occasionally, a lack of lubrication can cause the blinds to become stiff. If applicable, consider applying a silicone-based lubricant to the moving parts. This can help improve the function of the blinds and ensure smooth operation.
Crooked Installation
- Use a Level for Accuracy: If you notice that your blinds hang unevenly, the first tool to reach for is a level. Place the level against the brackets to confirm that they are even. This will help identify any discrepancies in the installation.
- Adjusting Brackets: If the level shows that the brackets are not level, take the time to adjust them. Loosen the screws slightly, then reposition the brackets until they align properly. Once adjusted, re-tighten the screws securely to hold the brackets in place.
- Recheck After Adjustments: After making adjustments, recheck with the level to ensure everything is straight. It may require several small adjustments to achieve the desired alignment, so be patient throughout the process.
- Consider Wall Issues: If the brackets are level but the blinds still hang crooked, examine the wall itself. Structural framing or baseboard issues can sometimes appear to affect the blinds’ alignment. You may need to adjust the placement of the brackets accordingly.
Inaccurate Size
- Double-Check Measurements: If you’re facing issues with the size of your blinds, it’s essential to revisit your initial measurements. Make sure to measure the width and height of your window frame carefully to ensure accuracy.
- Consult Manufacturer’s Specifications: Compare your measurements with the manufacturer’s specifications for the blinds you purchased. Each blind type may have specific sizing instructions that must be followed to ensure a proper fit.
- Consider Recutting or Replacement: If you discover a discrepancy between your measurements and the manufacturer’s specifications, consider whether your blinds can be recut if they are too large. Alternatively, if they are substantially off, it may be necessary to purchase a new set of blinds that fit your window properly.
- Keep a Measuring Tape Handy: For future installations or adjustments, keep a measuring tape easily accessible. Not only does this simplify the measurement process, but it also ensures that you can quickly make adjustments whenever needed.
Conclusion
You’ve now successfully learned how to install mini blinds with metal brackets! This DIY project not only enhances the aesthetic appeal of your home but also provides excellent control over light and privacy. Taking the time to carefully measure and align the brackets ensures a professional look that can boost your home’s value. Remember, with the right tools and a bit of patience, you can tackle this project yourself. Enjoy your newly installed mini blinds and the comfort they bring to your living space!
With this comprehensive guide, you can confidently approach your mini blinds installation project. Now that you know how to install mini blinds with metal brackets, you have all the tools and information necessary for a rewarding home improvement experience.