Introduction: Embracing DIY Challenges
How to disassemble ikea bed – In 2024 the realm of furniture assembly, IKEA stands as a behemoth known for its flat-pack designs and the subsequent adventure (or ordeal) of putting together each piece. However, little attention is paid to the equally important process of disassembly, particularly when it comes to their beds. Whether you’re moving homes, upgrading your furniture, or simply needing to store your trusty IKEA bed frame, knowing how to disassemble it efficiently and safely is a valuable skill. This comprehensive guide walks you through the process step-by-step, ensuring that your DIY journey ends as smoothly as it began.

Preparation is Key: Gathering Tools and Clearing Space
Before diving into the task, gather all the necessary tools. Typically, you’ll need a screwdriver (both Phillips and flathead, depending on the model), an Allen wrench (often included with IKEA furniture), and possibly a mallet for gentle persuasion. It’s crucial to clear ample space around the bed to work comfortably and avoid damaging other items. Remove bedding, pillows, and any objects stored under the bed to create a clean workspace. Cover the floor with a protective sheet to safeguard against scratches and accidental drops.
Understanding Your Bedframe: A Brief Overview
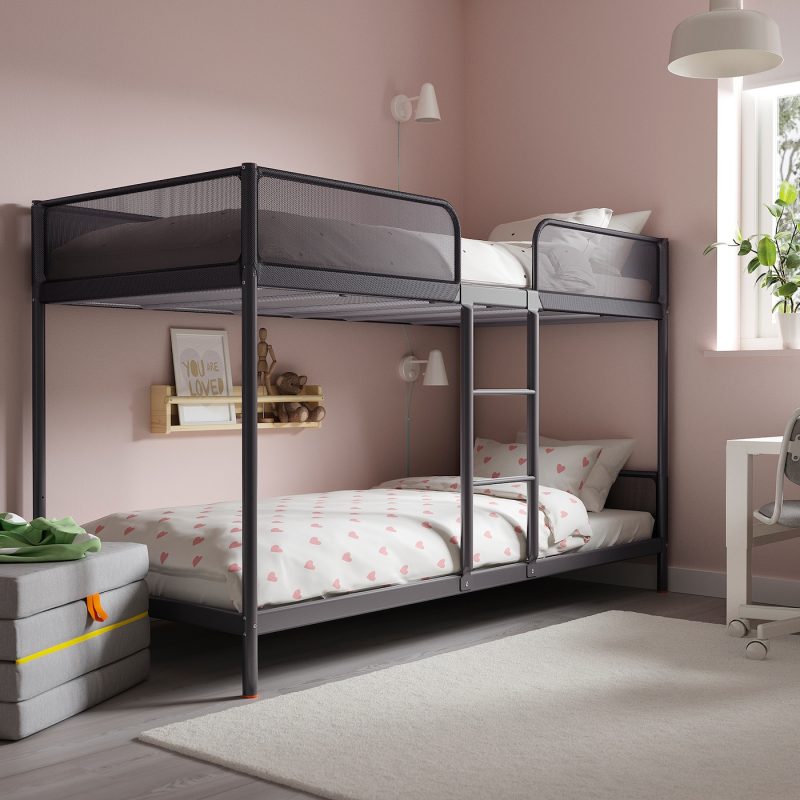
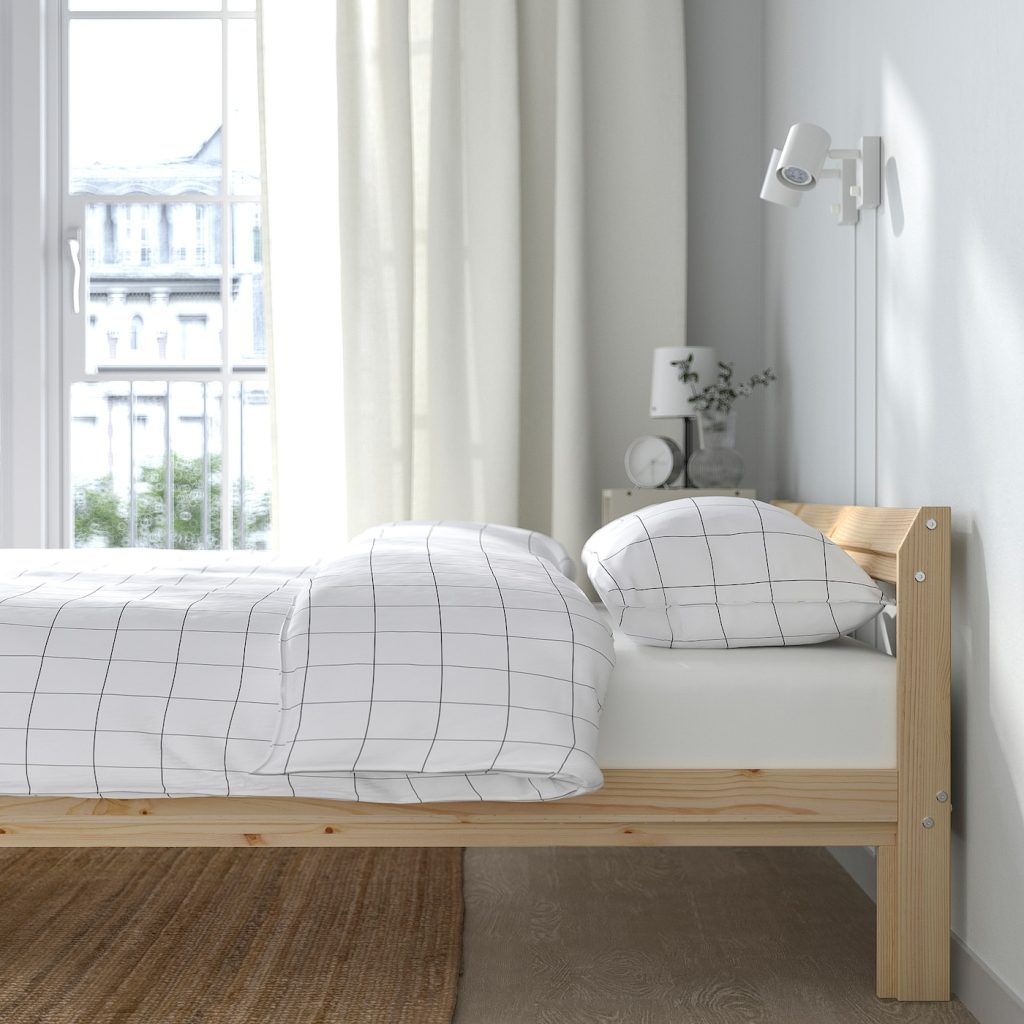
IKEA bed frames vary greatly in design, from the minimalistic Malm series to the loftier Hemnes models. Before starting, familiarize yourself with the specific components of your bed, paying close attention to screws, brackets, and any unique connectors. Consult the assembly manual (if you’ve kept it) or download a digital copy from IKEA’s website. Knowing which parts connect where will streamline the disassembly process.

Disassembly 101: Starting from the Top
How to disassemble ikea bed – Begin by removing the mattress, slats, and any additional bedding support structures. Most IKEA beds have slats held in place by plastic clips or screws. Gently lift the slats off, setting them aside neatly. Unscrew any brackets securing additional supports or headboards, being cautious not to lose any small hardware. Keep a small container nearby to collect screws and other bits as you proceed, labeling them if necessary for easy reassembly.
Deconstructing Complexity: Handling Drawers and Storage
For beds with built-in drawers or storage compartments, tackle these sections next. Detach drawer slides from the frame carefully, noting their orientation for later reinstallation. If drawers are held in place by screws, remove them before sliding out the drawers completely. For hydraulic lifts or gas struts assisting in lifting storage units, locate and release the locking mechanisms before proceeding to dismantle.

Unraveling the Frame: Disconnecting the Rails
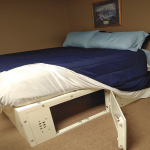
How to disassemble ikea bed – The backbone of any bedframe is its side rails and center supports. Locate the connecting points where these pieces meet. Using your screwdriver or Allen wrench, start undoing the screws or bolts securing these joints. Work systematically, perhaps starting from one corner and moving across to maintain stability. Should any screws be stubborn, apply a bit of lubricant and let it sit for a few minutes before retrying. Avoid excessive force to prevent damaging the wood or metal.
The Art of Dismantling: Removing Legs and Feet
Once the frame is loose, turn your attention to the legs or feet. Many IKEA beds have detachable legs screwed directly into the frame. Turn the bed on its side, exposing the leg attachment points. Loosen and remove each leg carefully, again placing screws in your hardware container. If the bed has adjustable feet, twist them counterclockwise until they come free from the frame.
Finishing Touches: Organizing and Cleaning
With all parts disassembled, organize them systematically. Group similar components together and consider wrapping delicate pieces in bubble wrap or cloth to prevent scratches during storage or transport. Clean each part with a soft cloth to remove dust and debris, ensuring they remain in good condition for future use or resale.
Before You Begin – how to disassemble an ikea bed
- Clear the Area: Remove all bedding, pillows, and any personal items from the bed. Clear the surrounding space to give yourself ample room to work.
- Gather Tools: Typically, IKEA furniture requires an Allen wrench (often included with the bed) and sometimes a screwdriver or a hammer. Have these tools ready.
- Review the Instructions: If you still have the original assembly manual, review it backward to understand the disassembly process. If not, IKEA manuals can usually be found online.
- Take Photos: Snap pictures of the bed from different angles before starting. These will serve as a reference when reassembling or troubleshooting.
Remove Mattress and Slats – how to disassemble ikea bed
- Carefully slide the mattress off the bed and set it aside in a clean, protected area.
- If your bed has slatted bases, remove them by lifting them off the frame or unscrewing them, depending on the model.
Dismantle Headboard and Footboard
- Locate the screws or connectors that hold the headboard and footboard to the bed frame. These are usually found at the corners or along the sides.
- Using your Allen wrench or screwdriver, loosen and remove these fasteners. Place screws in a small container or ziplock bag to keep them organized and prevent loss.
Detach Side Rails – disassembling ikea furniture
- Depending on the bed model, side rails might be attached to the headboard and footboard with screws, brackets, or locking mechanisms.
- If screws are used, remove them as done previously. For brackets, lift or slide them out of place. Locking mechanisms might require pressing a release button or lever.
- Work on one side at a time to maintain stability and control.
Separate Bed Parts – how to disassemble ikea bed
- Once all connections are loose, gently lift the side rails away from the headboard and footboard.
- If the bed has center support beams, carefully disengage them from the frame following similar steps.
Disassemble Additional Components
- Some beds may have additional features like drawers or storage units. Remove these components by unscrewing or sliding them out according to their specific designs.
As you disassemble, organize the parts logically. Screw packets or bags labeled with their corresponding part (e.g., “headboard screws”) can save time and frustration during reassembly.
- If parts are not easily distinguishable, consider marking them with masking tape and a note indicating where they belong.
Inspect and Prepare for Storage or Moving
- Before storing or moving the parts, inspect them for any damage. Address any issues before packing.
- Wrap delicate parts like the headboard and footboard in moving blankets or bubble wrap to prevent scratches or dents during transit.
- Stack heavier parts like the side rails at the bottom when packing to avoid putting pressure on lighter components.
The Aftermath: Storing and Recycling
Proper storage of your IKEA bed components is essential to prevent warping or damage. Flat-pack the pieces back into their original packaging if possible, or invest in sturdy plastic containers designed for furniture storage. As for any leftover packaging or unusable parts, check with your local recycling center for guidelines on disposal or recycling of materials like cardboard, plastic, and metal.
Reviving Your Space: Repurposing IKEA Bed Parts
Disassembling your IKEA bed doesn’t have to mean saying goodbye to its parts forever. With a touch of creativity, you can repurpose these components into functional and stylish additions to your home.
- Side Rails to Shelves: The sturdy side rails of your bed can find new life as floating shelves. Sand down any rough edges, apply a fresh coat of paint or stain to match your decor, and attach brackets to transform them into sleek storage solutions for books, plants, or picture frames.
- Legs as Table Supports: Those detached legs can be reborn as the foundation for a DIY side table or nightstand. Pair them with a wooden board cut to your desired size, secure them in place, and voila! A custom piece of furniture tailored to your space.
- Center Support to Hanging Rail: If your bedframe had a central support beam, consider converting it into a hanging rail for your closet or entryway. Install hooks or hangers to drape coats, hats, or bags, adding both function and a touch of industrial chic.
- Adjustable Feet as Levellers for Furniture: Don’t discard those adjustable feet just yet. They can be incredibly useful when leveling other furniture pieces on uneven floors. Keep them handy for future projects or even as a quick fix for wobbly chairs and tables.
- Spare Screws and Bolts: Your New Toolkit Addition: The screws, bolts, and other hardware collected during disassembly can become a valuable addition to your toolbox. Organize them in a small container or a divided storage box, ready for your next DIY project.

How to disassemble ikea bed – Disassembling an IKEA bed may seem daunting at first, but with careful planning and methodical execution, it becomes a manageable and even rewarding task. Remember, patience and attention to detail are key. Not only does this DIY mastery save you money on professional services, but it also fosters a sense of accomplishment and reinforces the value of sustainability by prolonging the life of your furniture. So, roll up your sleeves, gather your tools, and embark on this journey of transformation, one screw at a time.