Introduction: Crafting Your Perfect Outdoor Escape
Creating your own outdoor sofa is more than just a DIY project; it’s about designing a personal relaxation oasis tailored to your style and comfort. An outdoor sofa can transform any patio, garden, or backyard into a cozy retreat where you can unwind, entertain guests, and enjoy the beauty of nature. This guide will walk you through the process of building a durable and stylish outdoor sofa from scratch, offering detailed step-by-step instructions for each phase of the project. From selecting materials to final assembly, you’ll have everything you need to bring your vision to life and create a piece that enhances your outdoor living space.
Gathering Materials and Tools
The first step in constructing your outdoor sofa involves gathering all necessary materials and tools. Quality materials are crucial for ensuring the durability and longevity of your furniture, particularly since it will be exposed to various weather conditions. Opt for weather-resistant woods like cedar, teak, or treated pine, as these types are naturally resistant to moisture and decay. You’ll also need galvanized screws, wood glue, sandpaper, and a weatherproof finish to protect the wood. Essential tools include a saw (circular or miter), a power drill with bits, clamps, a tape measure, and a sander. Having all materials and tools ready before you start ensures a smoother workflow and helps avoid interruptions during the building process.
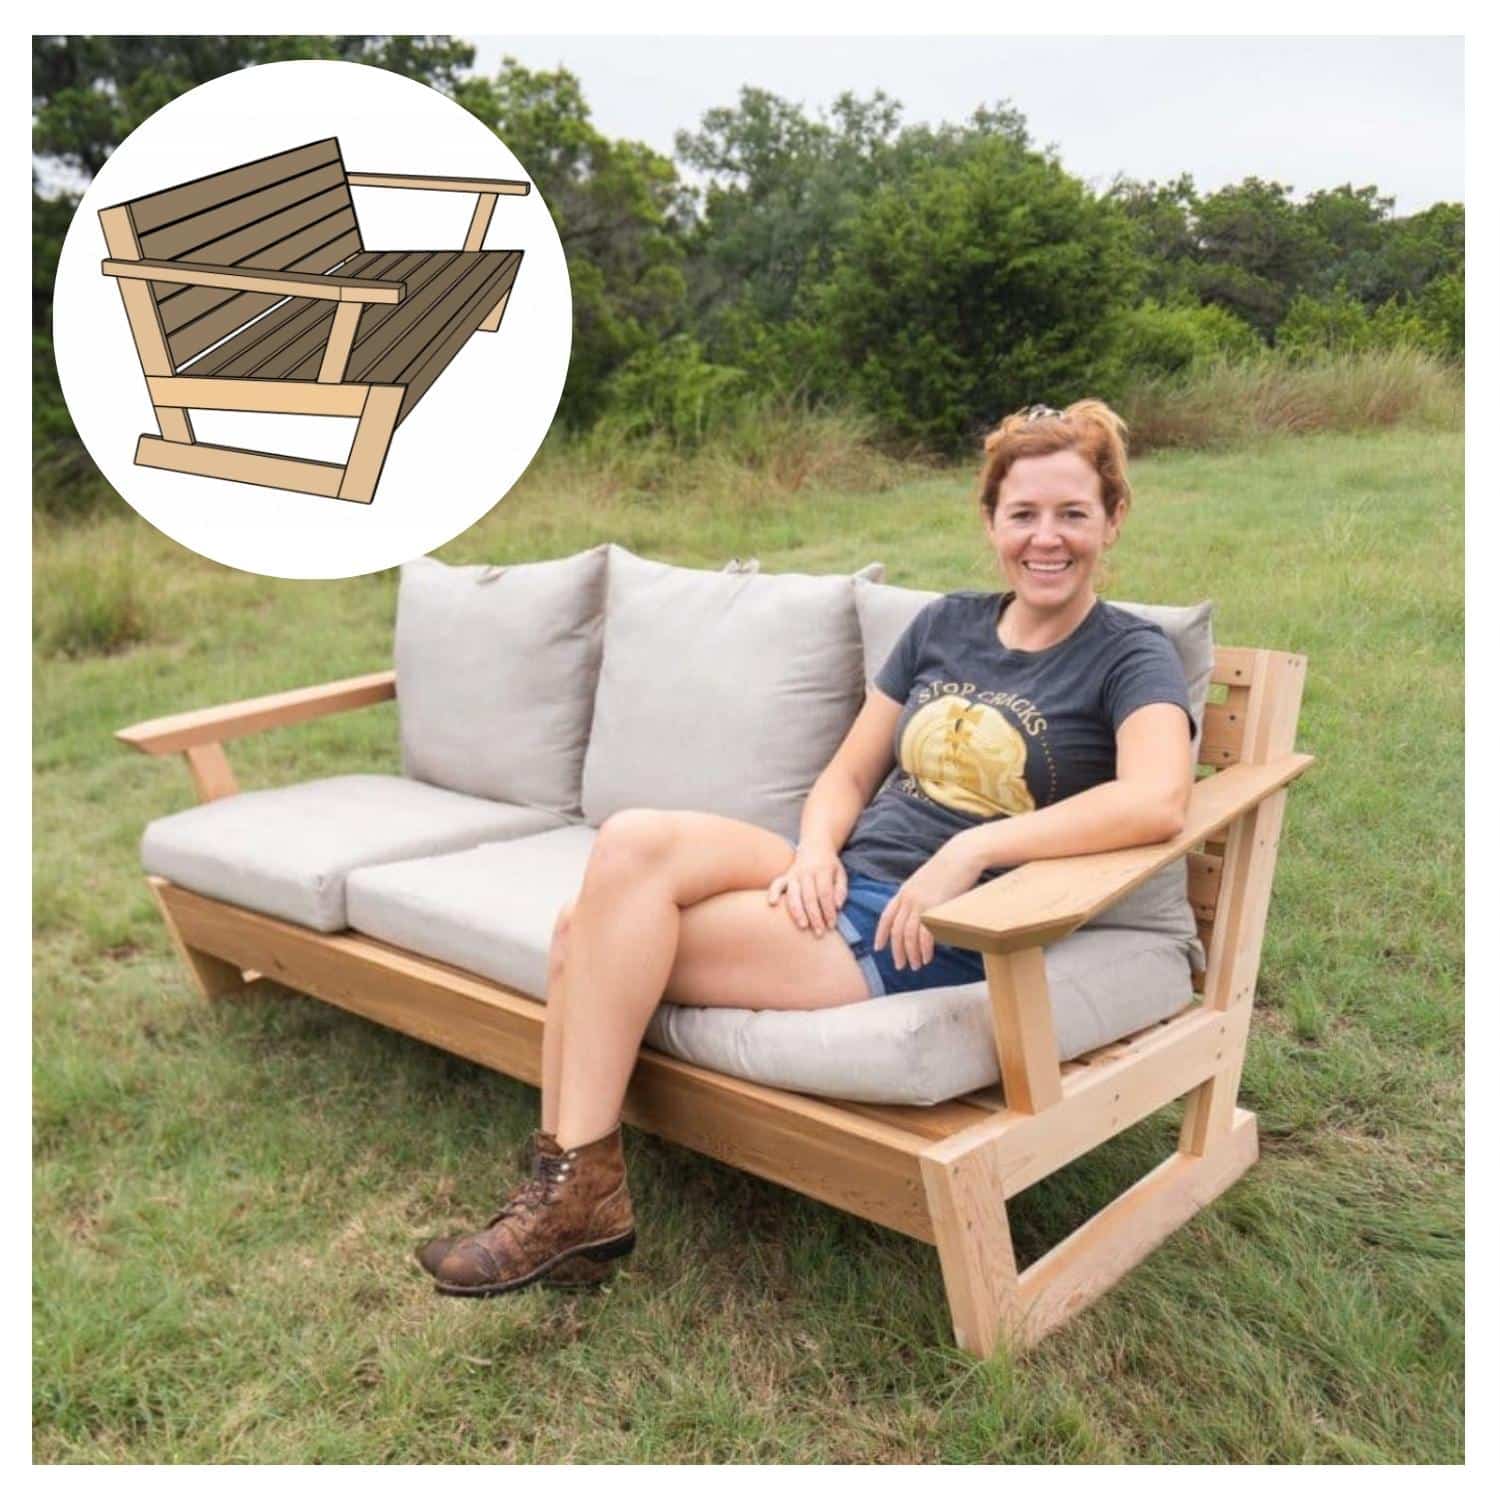
Designing Your Outdoor Sofa
Designing your outdoor sofa is a critical step that influences both its aesthetic appeal and functional utility. Begin by determining the size and dimensions of your sofa based on the available space and your seating needs. Sketch a detailed plan that includes measurements for the frame, seat, and backrest. Consider adding design elements such as armrests, angled backrests for comfort, or even built-in side tables. Think about the overall style you want to achieve—whether modern, rustic, or traditional—and incorporate those elements into your design. A well-thought-out design not only guides the construction process but also ensures that the finished product complements your outdoor decor.
Cutting and Preparing the Wood
Once your design is finalized, it’s time to cut and prepare the wood. Accurate measurements are crucial to ensure that all pieces fit together perfectly. Using your saw, carefully cut the wood according to the dimensions specified in your design. Label each piece to avoid confusion during assembly. After cutting, sand all edges and surfaces to remove splinters and rough spots, creating a smooth finish that is safe and comfortable to touch. Pay special attention to the ends of the wood pieces, as they tend to be rougher. Properly preparing the wood not only enhances the appearance of your sofa but also makes the assembly process easier and more precise.
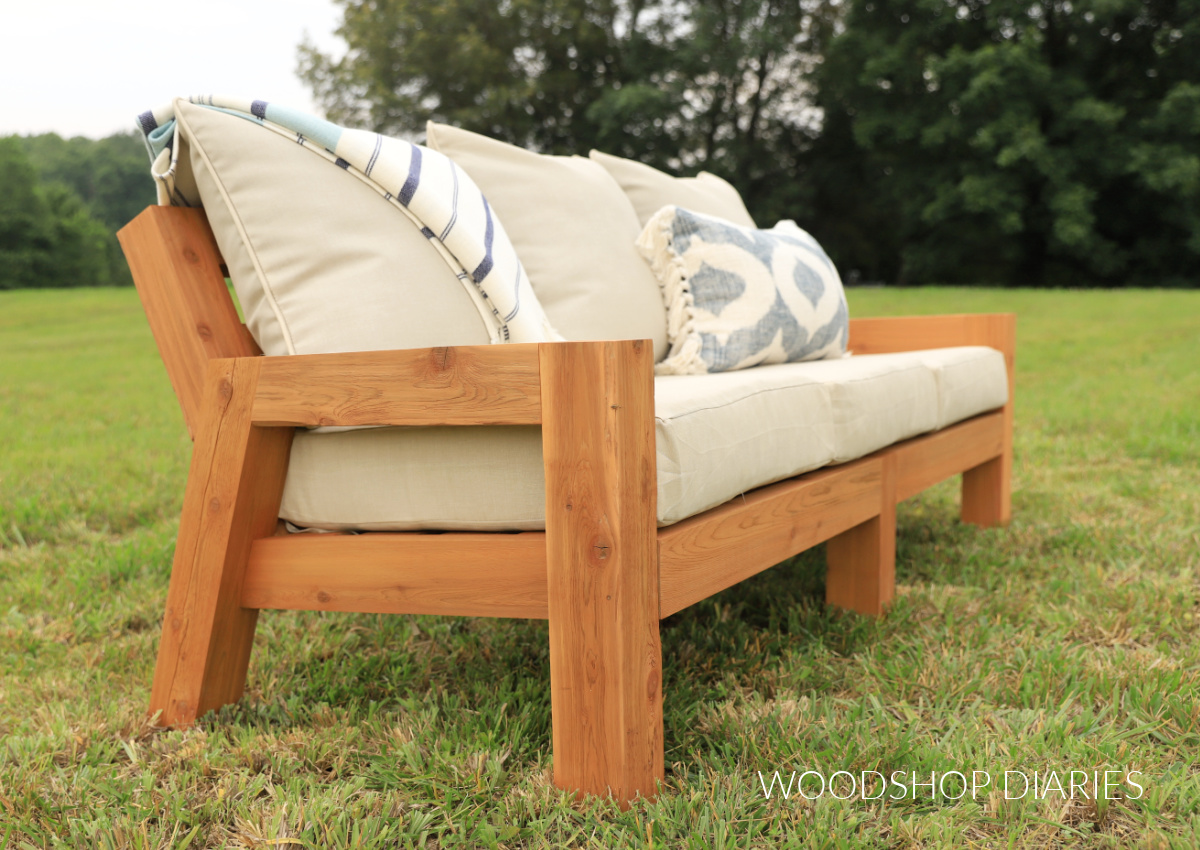
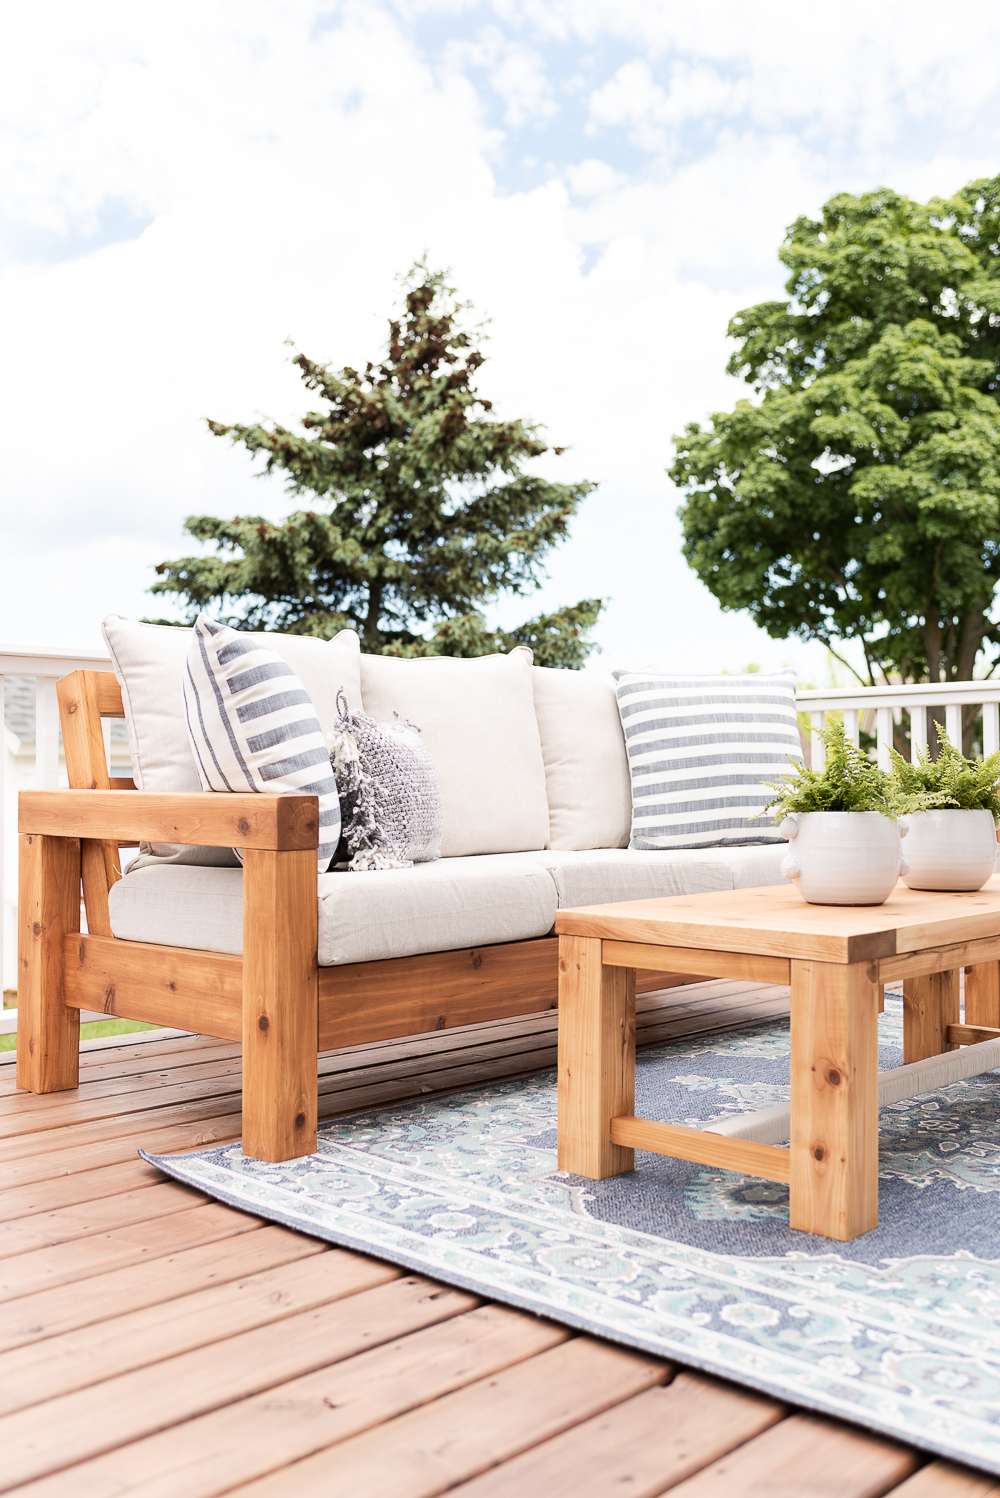
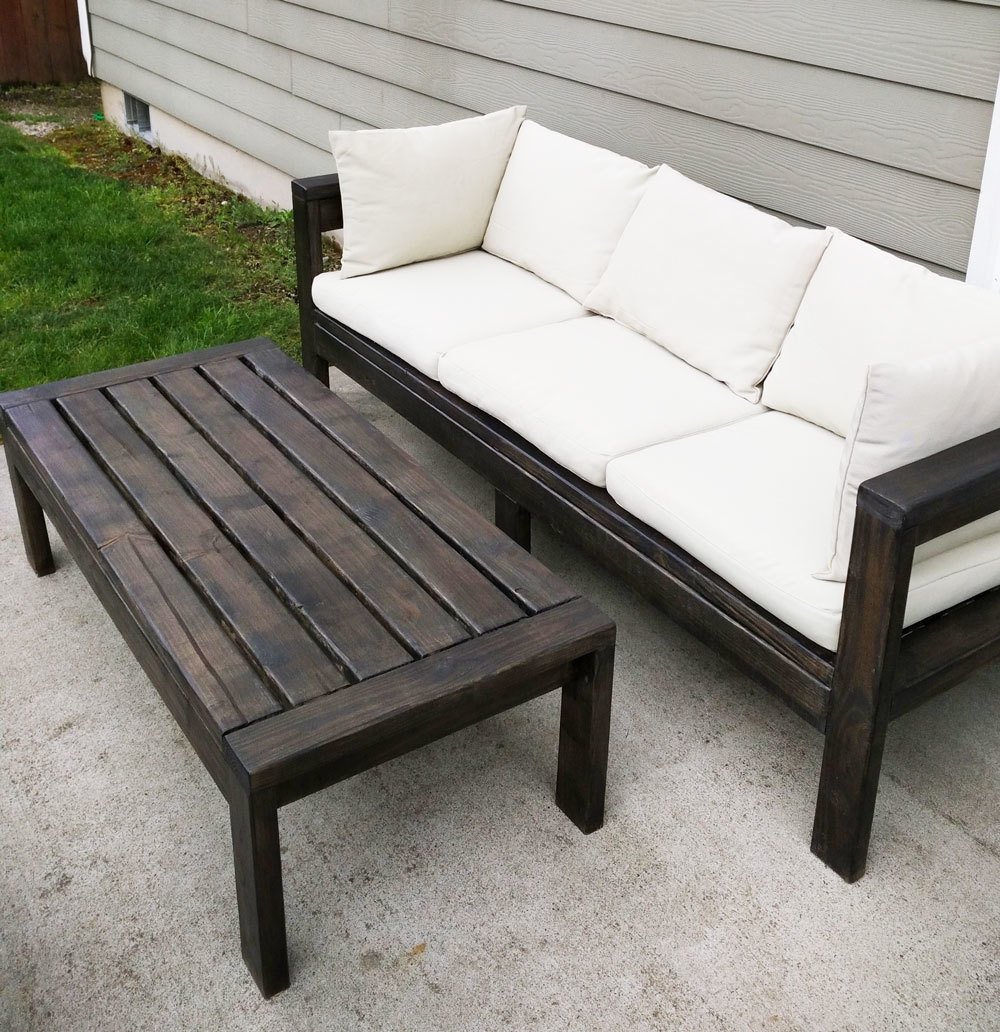
Building the Sofa Frame
Constructing the frame is the foundation of your outdoor sofa and requires careful precision. Begin by assembling the base frame, which consists of the front, back, and side supports. Use wood glue and screws to secure the joints, ensuring that the frame is square and stable. Clamps can help hold the pieces in place while you drill and screw them together. Once the base frame is complete, add the vertical supports for the backrest and armrests if your design includes them. Double-check all connections to make sure they are tight and secure. The frame should be sturdy enough to support the weight of multiple people without wobbling or bending.
Attaching the Seat and Backrest
With the frame assembled, the next step is to attach the seat and backrest. Cut slats or boards to fit the seat area and arrange them evenly across the frame. Secure each slat with screws, leaving a small gap between each one to allow for drainage and airflow. For the backrest, position the boards vertically or horizontally, depending on your design preference, and attach them securely to the vertical supports. Ensure that the backrest is angled slightly backward for comfort. Take your time with this step to ensure that all slats are aligned properly and that the seat and backrest provide a comfortable sitting surface.
Adding Armrests and Finishing Touches
If your design includes armrests, now is the time to add them. Measure and cut the wood for the armrests, then attach them to the frame using screws and wood glue. Make sure they are level and securely fastened. Once the armrests are in place, inspect the entire sofa for any rough edges or uneven surfaces that need additional sanding. Apply a weatherproof finish to all exposed wood surfaces to protect against moisture, UV rays, and other environmental factors. This finish not only extends the life of your sofa but also enhances its appearance. Choose a finish that complements the natural color of the wood or adds a touch of color to match your outdoor decor.
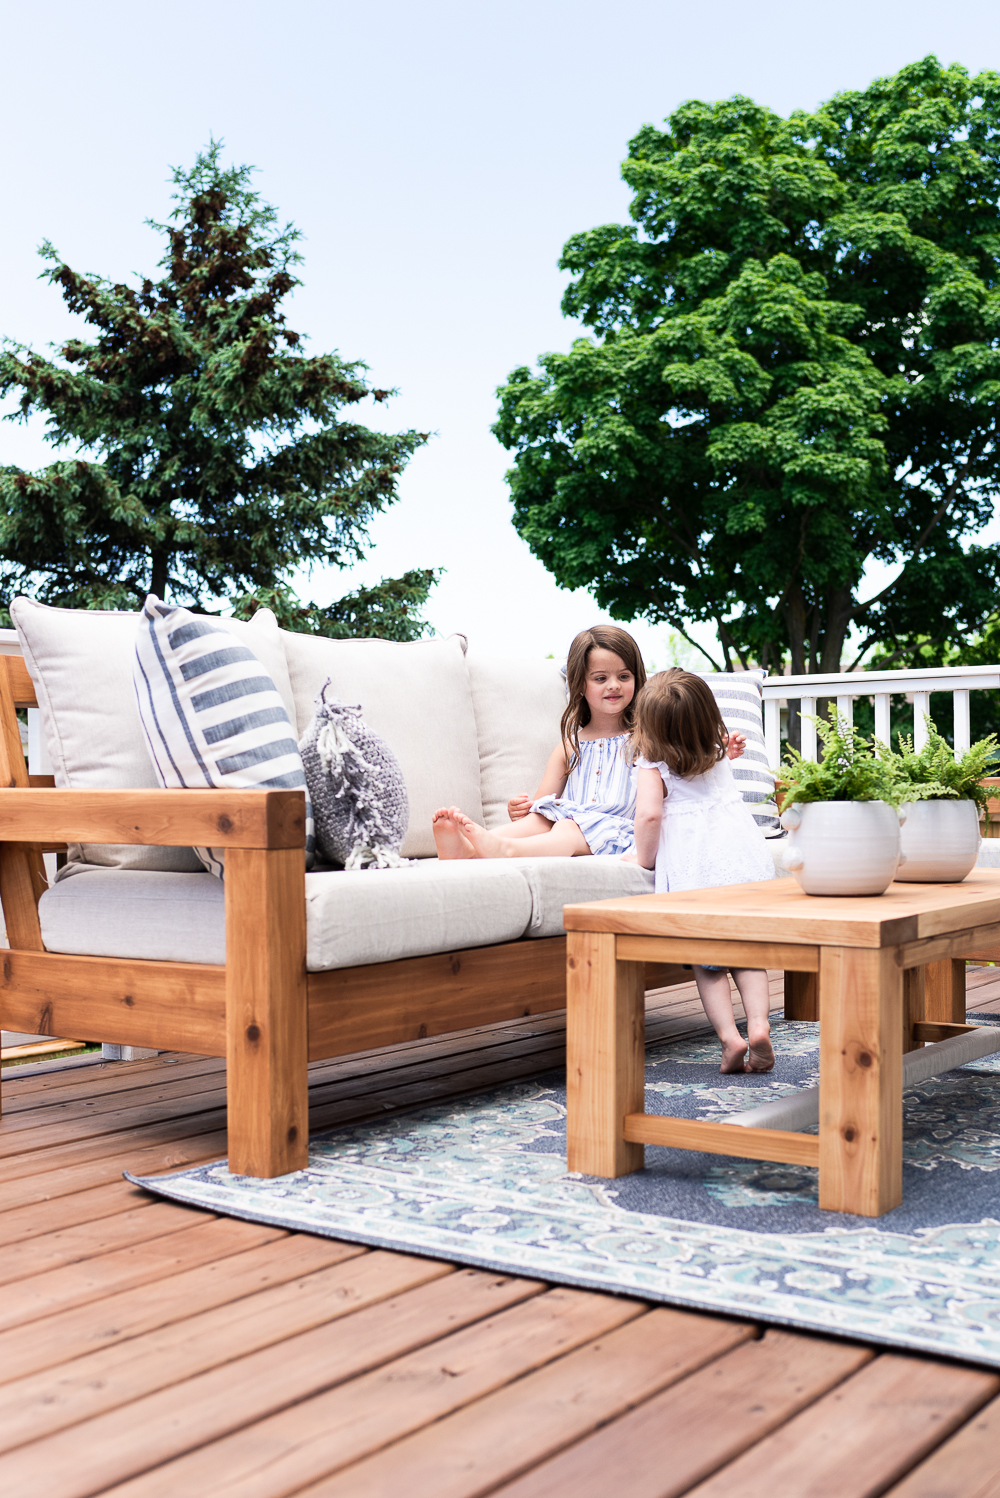
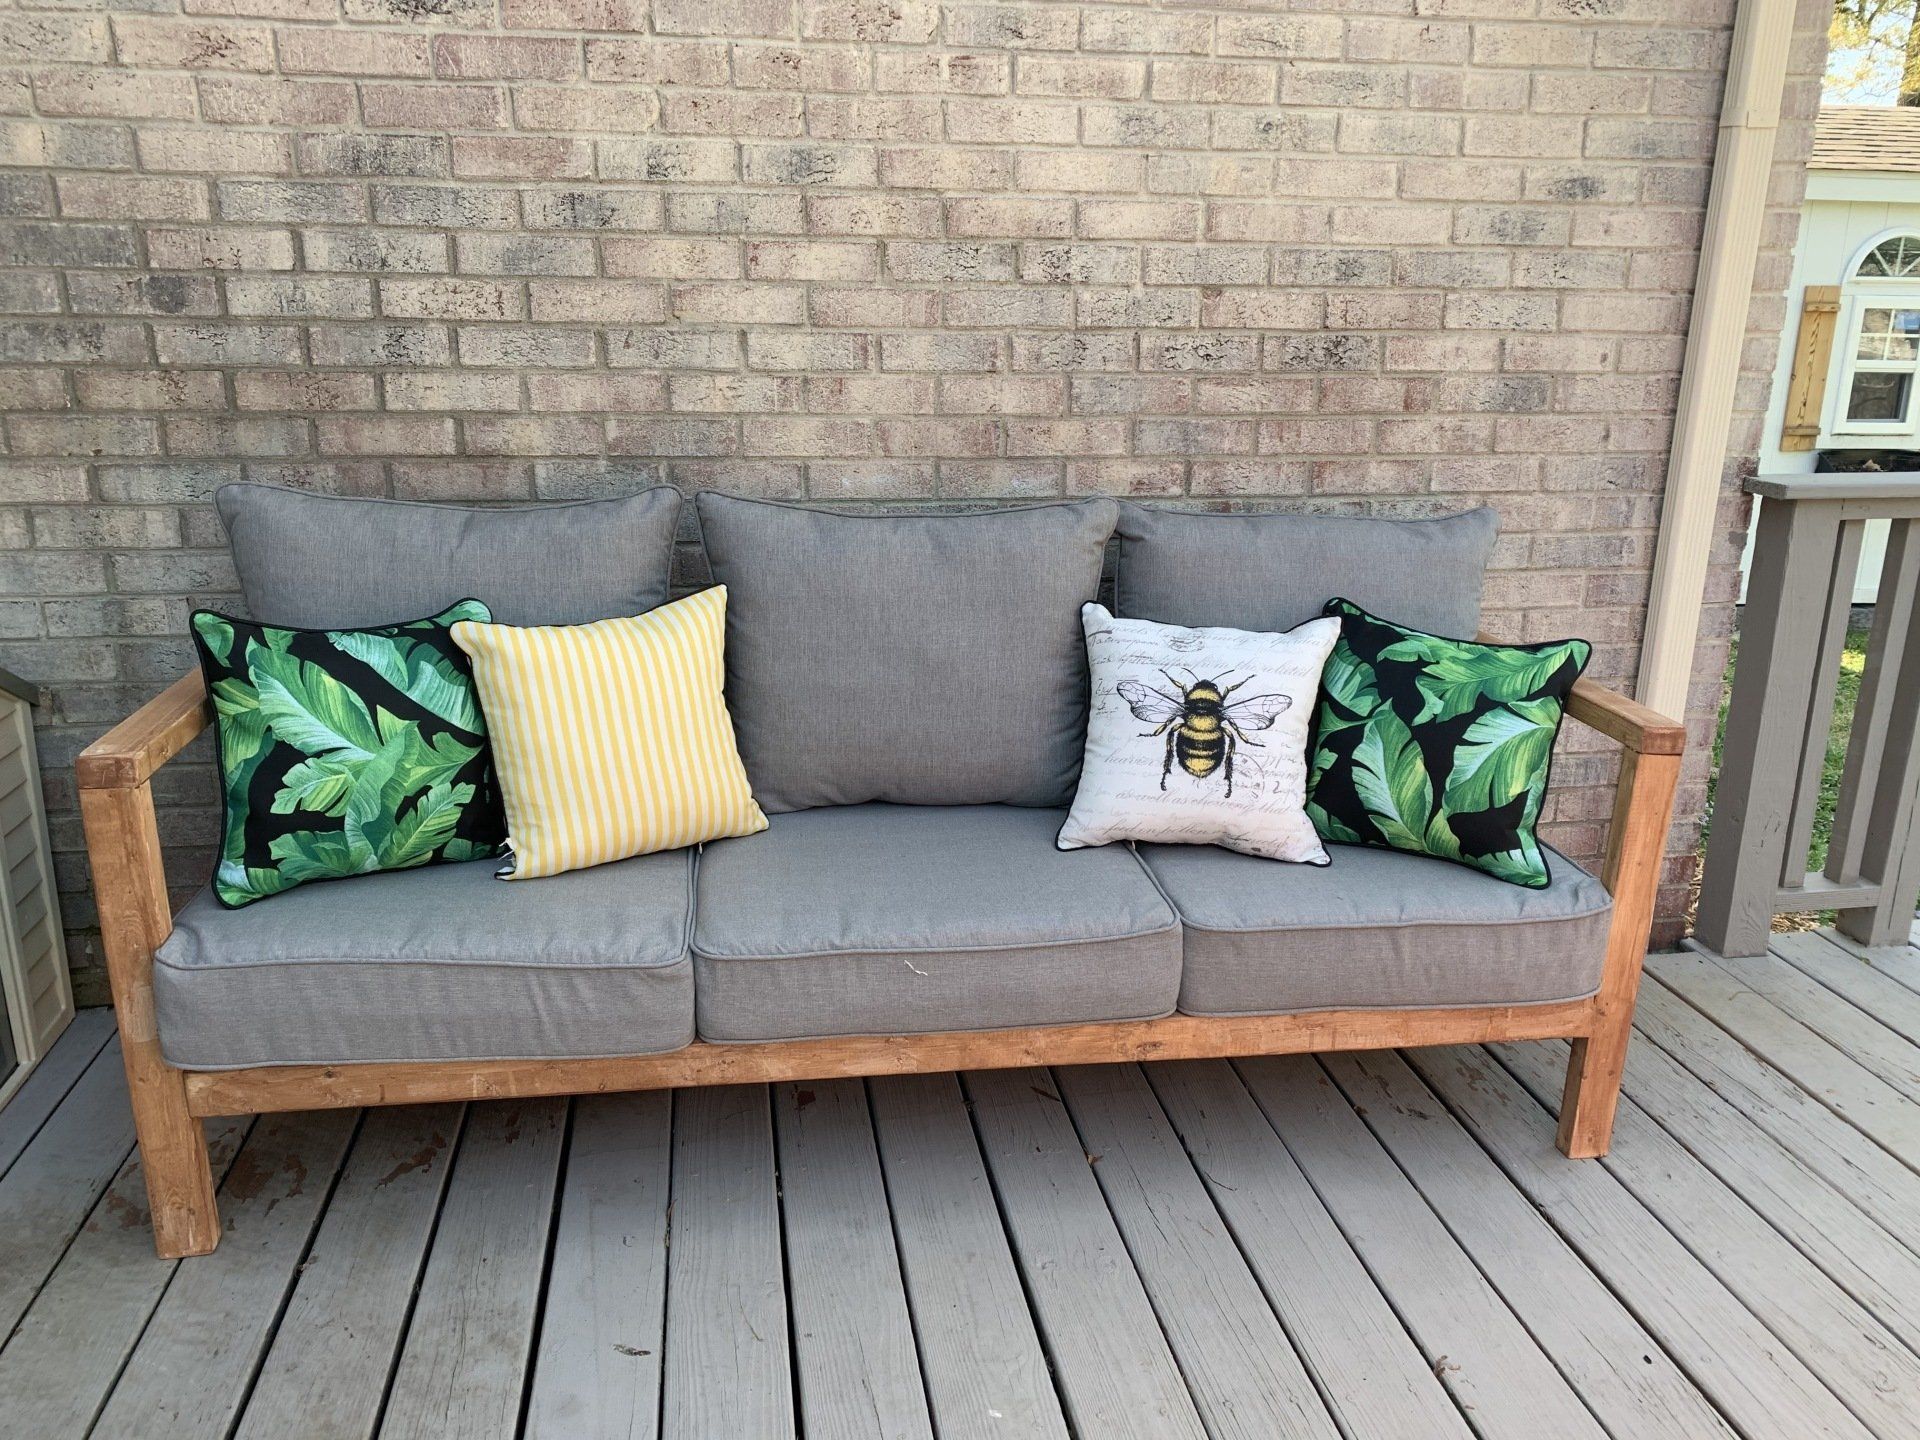
Upholstering Your Outdoor Sofa
Comfort is key when it comes to outdoor seating, so upholstering your sofa with weather-resistant cushions is essential. Choose outdoor fabric and foam that can withstand the elements and dry quickly. Measure the seat and backrest areas to determine the size of the cushions needed. You can either sew custom cushion covers or purchase pre-made ones that fit your dimensions. Add ties or Velcro strips to keep the cushions securely in place, especially in windy conditions. Upholstered cushions not only enhance the comfort of your sofa but also add a layer of visual appeal, making your outdoor space inviting and cozy.
Assembling and Finalizing the Sofa
With all components prepared, the final step is to assemble your outdoor sofa. Bring all parts together, starting with the frame, followed by attaching the seat, backrest, and armrests. Double-check all screws and connections to ensure they are tight and secure. Place the upholstered cushions onto the seat and backrest, adjusting them for a perfect fit. Step back and admire your handiwork, making any final adjustments needed for stability and comfort. Your outdoor sofa is now ready to become the centerpiece of your patio or garden, offering a comfortable and stylish place to relax and enjoy the outdoors.
Maintaining Your Outdoor Sofa
To ensure your outdoor sofa remains in excellent condition for years to come, regular maintenance is necessary. Clean the wood surfaces periodically with a mild soap solution and a soft brush to remove dirt and debris. Reapply the weatherproof finish as needed, typically every year, to keep the wood protected from the elements. Store the cushions indoors during severe weather or winter months to prolong their lifespan. Check the screws and joints occasionally to ensure they remain tight and secure. With proper care, your DIY outdoor sofa will remain a beautiful and functional addition to your outdoor space, providing comfort and enjoyment through many seasons.
Conclusion: Enjoying Your Handmade Relaxation Oasis
Building your own outdoor sofa is a rewarding project that combines creativity, craftsmanship, and practicality. By following these step-by-step instructions, you can create a custom piece of furniture that perfectly suits your taste and outdoor environment. Whether you use your new sofa for lounging, entertaining, or simply enjoying the serenity of your garden, the satisfaction of knowing you built it yourself adds an extra layer of enjoyment. Embrace the opportunity to enhance your outdoor living space with a personalized touch, and take pride in your ability to craft a beautiful and durable relaxation oasis.