Introduction: ikea kallax bed frame — A Canvas for Creativity
Ikea kallax bed – In 2024 the realm of affordable and versatile furniture, the IKEA Kallax shelf unit stands as a testament to modern design’s simplicity and functionality. More than just a storage solution, this modular cube system has become a canvas for DIY enthusiasts, inspiring countless transformations that defy its humble beginnings. Among these creative hacks, none captures the essence of ingenuity quite like turning the Kallax into a stylish bed frame. This project not only maximizes space in compact living quarters but also infuses personality and elegance into any bedroom.
Planning the Transformation: Blueprinting Your kallax bed
Assessing Needs & Space
Before embarking on this transformation journey, careful planning is paramount. Measure your room to ensure the Kallax, in its new form, will fit comfortably without overwhelming the space. Consider factors such as ceiling height, doorways, and windows. Decide whether you want a single, double, or even a platform for a queen-size mattress, as this will dictate the number of Kallax units required.
Gathering Materials & Tools
The core material, naturally, is the IKEA Kallax shelf. Additional supplies might include wooden planks for the ikea bed base, brackets for reinforcement, sandpaper, paint or stain, a saw, drill, screws, and possibly caster wheels for mobility. Don’t forget safety gear like goggles and gloves.
Assembly: From Shelves to Sleeping Sanctuary – ikea kallax bed frame
Assembling the Base
Begin by assembling the Kallax units according to IKEA’s instructions, minus the back panels to allow for ventilation and easy cable management if you plan on incorporating under-bed lighting or charging ports. If stacking multiple units, secure them together using L-brackets for stability.
Crafting the Platform
Measure and cut wooden planks to fit snugly within the Kallax frame, ensuring they can support the weight of a mattress and occupants. Sand the planks smooth to prevent splinters and apply a finish of your choice, be it a natural stain or a vibrant paint color to match your bedroom aesthetic.
Reinforcement & Safety Measures
Add extra support beneath the planks, either by screwing them directly into the Kallax’s vertical beams or by installing horizontal supports between the Kallax units. This step is crucial for maintaining structural integrity and ensuring a safe sleeping experience.
Personalizing Your Creation: Adding the Finishing Touches
Integrating Storage Solutions
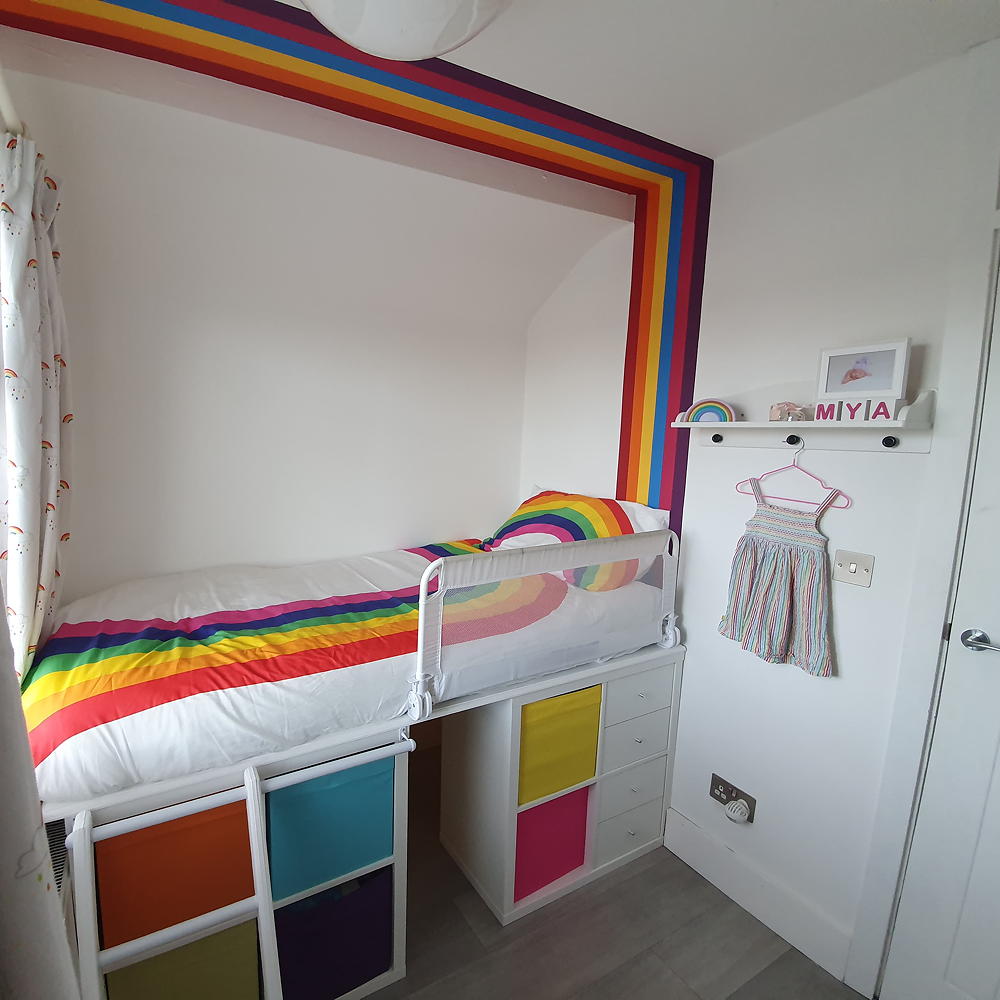
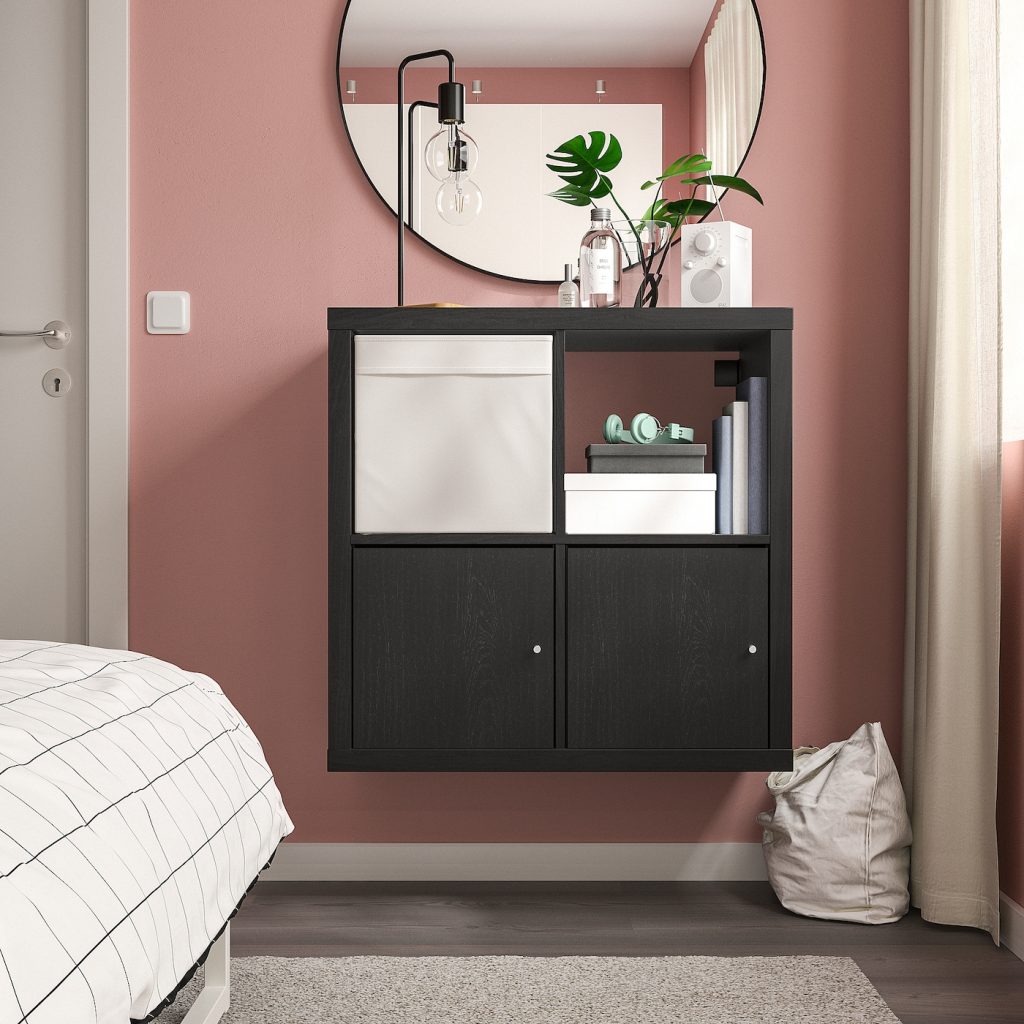
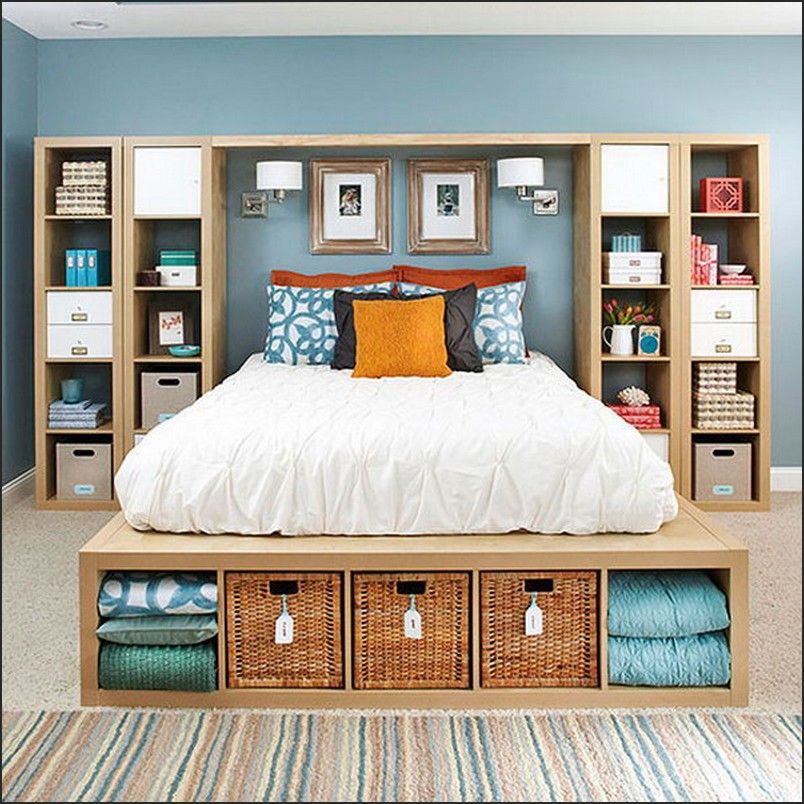
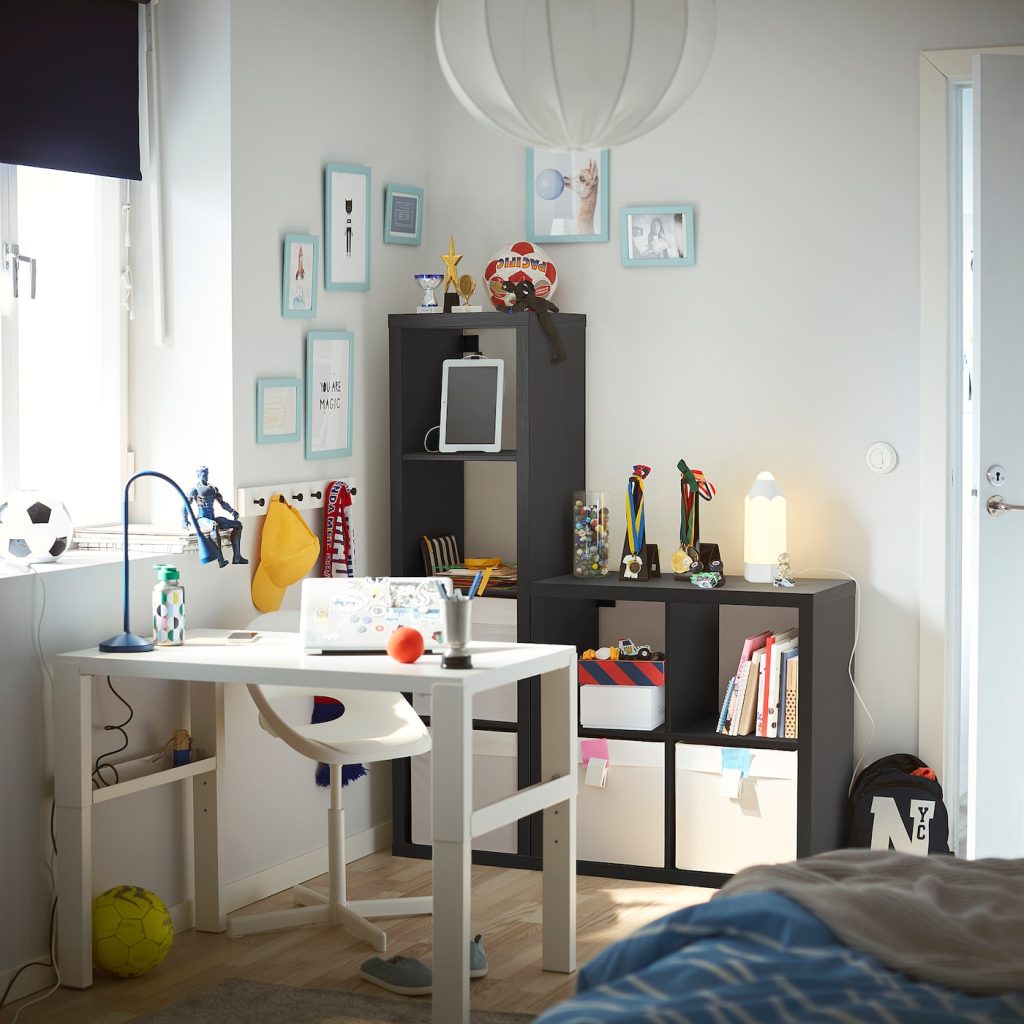
One of the Kallax’s strengths lies in its potential for storage. Utilize the open cubes for baskets, boxes, or even custom-built drawers to store bedding, books, or clothing. Consider adding doors to some sections for a cleaner look or to conceal clutter.
Lighting & Ambiance
Integrate ambient lighting within the Kallax, either by threading LED strips along the underside of the shelves or placing stylish lamps on top. This not only enhances the cozy feel of the space but also serves as practical illumination for bedtime reading.
Decorative Flourishes
To elevate the bed from functional to fabulous, adorn the headboard area with a fabric panel, a painted mural, or even a gallery wall of framed art. Pillows, throws, and a well-chosen duvet cover can tie the entire design together, reflecting your personal style.
Overcoming Challenges: Problem-Solving Along the Way
Managing Weight Distribution
Ensure that the weight distribution across the Kallax bed is even. This might involve reinforcing certain areas or adjusting the placement of heavy items in storage compartments to avoid overloading any one section.
Addressing Height Concerns
If the final height of the bed feels too low or too high, consider adding or removing Kallax units, using thicker planks for the bed base, or even attaching legs to raise it to a comfortable level.
Wiring for Electricity
If integrating electrical components like lighting, carefully plan the wiring route to maintain a clean and safe setup. Conceal cables behind the Kallax or use cable management solutions to avoid tripping hazards.
Expanding Functionality: Integrating Technology and Comfort
In today’s smart home era, it’s only fitting to incorporate technology into your Kallax bed transformation. Consider installing smart outlets within the cubes to charge devices wirelessly or control bedside lamps via voice commands or mobile apps. This integration not only adds convenience but also aligns with modern lifestyles, where technology seamlessly blends with living spaces.
For added comfort, think about installing a motorized lift mechanism within the Kallax structure to create a murphy bed effect. This allows the bed to be effortlessly tucked away during the day, freeing up valuable floor space for workouts, hobbies, or simply to open up the room visually. While this addition may require more advanced technical skills and investment, the result is a highly adaptable living area that caters to various activities.
Eco-Friendly Approaches and Sustainability
Sustainability-conscious individuals can approach this project with eco-friendly materials and methods. Opt for FSC-certified wood for the bed platform, which ensures the timber comes from responsibly managed forests. When selecting paints or stains, choose low-VOC (volatile organic compound) options to minimize indoor air pollution. Additionally, repurpose old furniture handles or knobs as accents, reducing waste while adding a touch of vintage charm.
Adapting for Multifunctional Spaces
In studio apartments or shared living situations, the Kallax bed can serve as a partition, dividing the sleeping area from the rest of the room. By placing the Kallax perpendicular to the wall, it creates a natural barrier without completely sacrificing openness. Use the side facing the living area for display or storage, thereby capitalizing on every square inch of available space.
Accessibility and Ease of Use
When designing your Kallax bed, don’t overlook accessibility. If you or someone who will be using the bed has mobility issues, ensure there are sturdy steps or a ladder that can support their weight safely. Incorporate handrails if necessary, and make sure there’s ample clearance around the bed for ease of movement. Considering these aspects upfront ensures your DIY project caters to all users’ needs, promoting inclusivity and practicality.
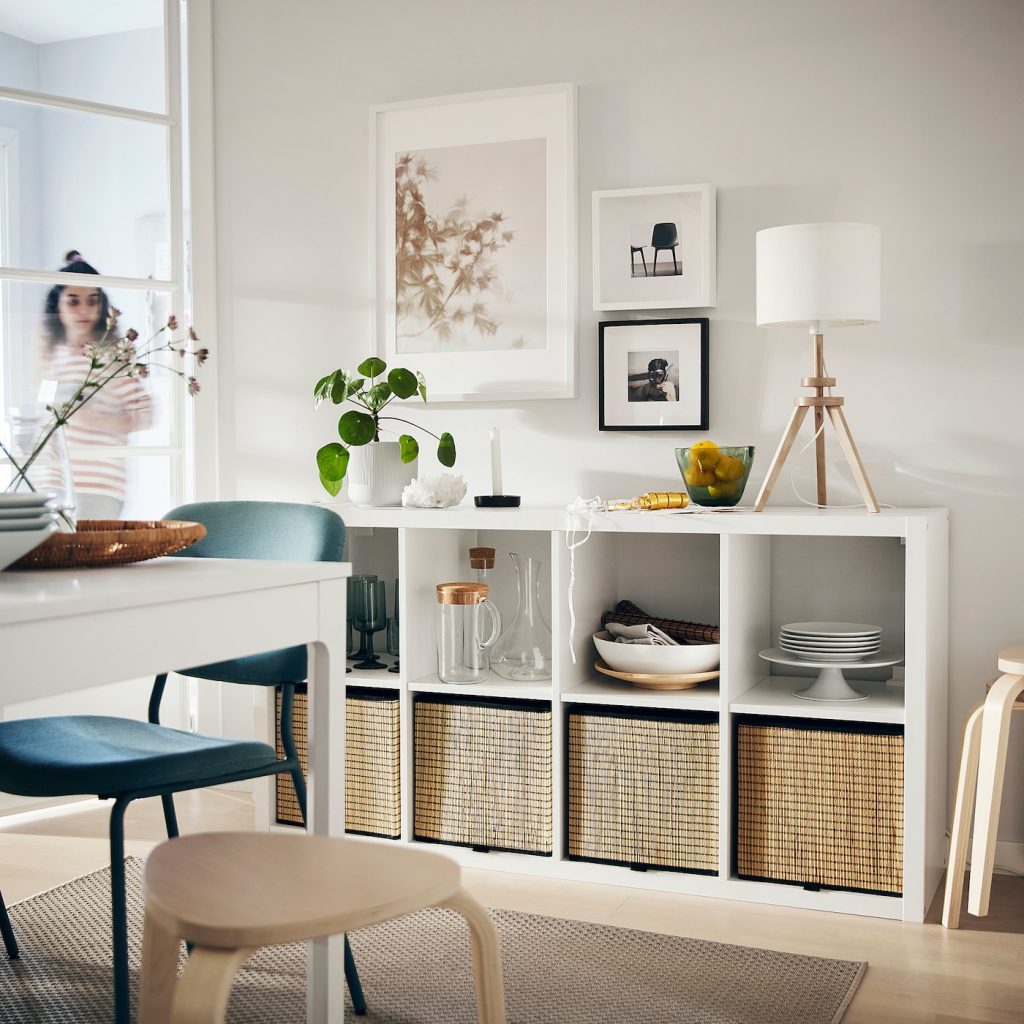
Why Opt for the IKEA Kallax?
The Kallax shelving unit is favored for several reasons:
- Modular Design: Available in various sizes and configurations, the Kallax offers flexibility to fit different spaces and needs.
- Affordability: IKEA’s competitive pricing makes the Kallax an economical choice for those seeking functional furniture on a budget.
- Versatility: Its clean lines and modern design seamlessly blend with diverse decor styles, from minimalist to eclectic.
Step-by-Step Guide to Creating a Kallax Bed
Materials Needed:
- IKEA Kallax shelving unit (choose size according to bed dimensions)
- Bed slats or plywood cut to size
- Mattress (typically twin, full, or queen size)
- Additional lumber or brackets for reinforcement
- Tools: Screwdriver or drill, screws, measuring tape, level, sandpaper (if finishing wood)
Preparation and Assembly
- Select the Right Size: Determine the bed size (twin, full, queen) and acquire the corresponding Kallax unit. Plan for adequate mattress support within the Kallax dimensions.
- Assemble the Kallax: Follow IKEA’s assembly instructions to build the Kallax shelving unit. Ensure all components are securely fastened for stability.
- Reinforce as Needed: Consider reinforcing the frame with L-brackets or additional screws for added durability and support.
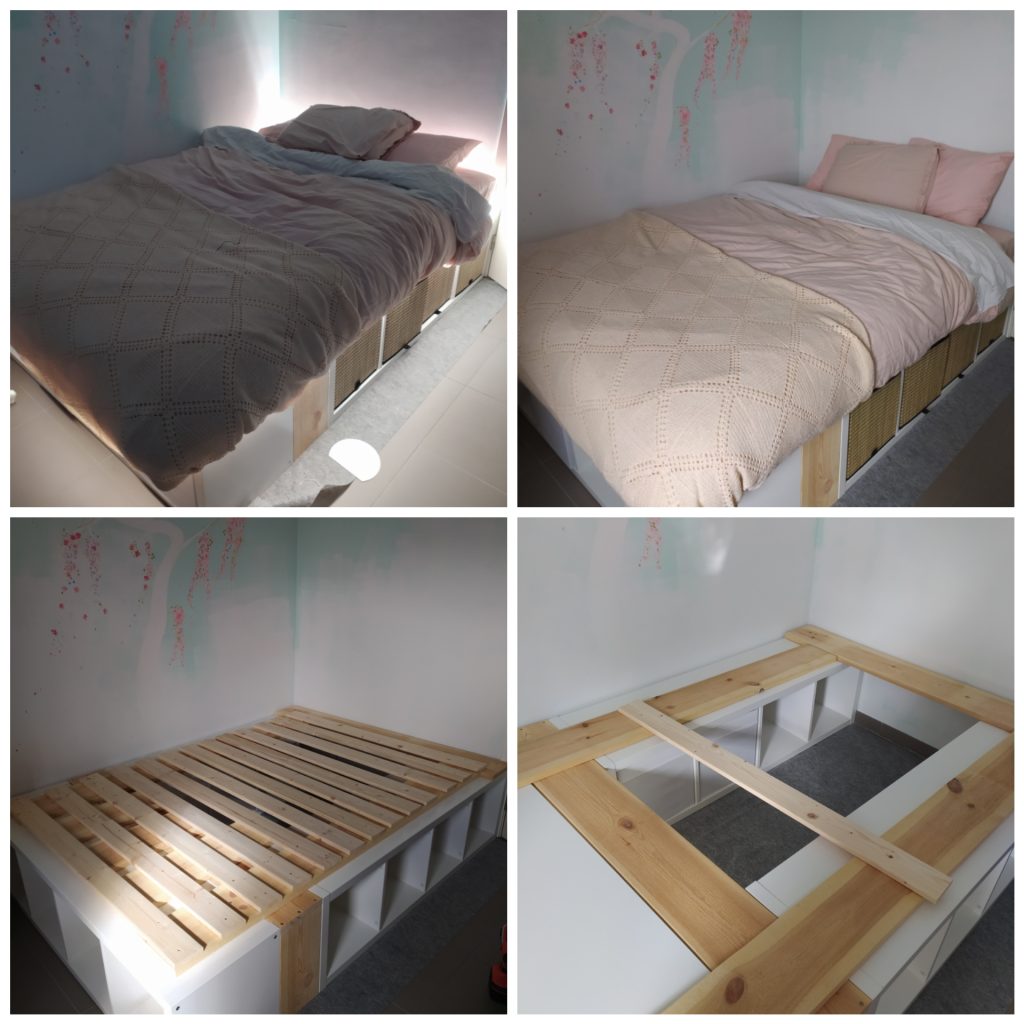
Integrating the Bed Frame
- Adjust Shelving: Depending on your chosen bed size, remove the necessary Kallax shelves to accommodate the mattress and support structure inside the unit.
- Add Support: Place bed slats or a cut-to-size plywood sheet across the interior of the Kallax as a base for the mattress. This ensures even weight distribution and support.
- Optional Customization: Sand and paint/stain the Kallax for a personalized touch. This step can align the piece with your room’s decor scheme or maintain a minimalist aesthetic.
Finishing Touches
- Install the Mattress: Position your selected mattress atop the bed slats or plywood within the Kallax frame. Ensure it fits snugly and securely for comfort.
- Bedding and Accessories: Dress the Kallax bed with bedding, pillows, and throws to establish a cozy sleep environment. Consider incorporating storage baskets or decorative elements to enhance functionality.
- Enhancements: Explore additional features like LED strip lighting or a wall-mounted headboard to further customize your Kallax bed setup.
Benefits of Using the Kallax as a Bed
- Space Efficiency: Particularly advantageous in smaller rooms or studio apartments where maximizing floor space is crucial.
- Cost-Effectiveness: Repurposing the Kallax into a bed presents a cost-effective alternative to purchasing a traditional bed frame.
- Personalization: The ability to customize the Kallax’s appearance and functionality allows for creative expression in room design.
Considerations and Tips
- Weight Capacity: Ensure the Kallax can safely support the combined weight of the mattress and occupants. Reinforce as necessary for optimal stability.
- Ventilation: Adequate airflow beneath the mattress is essential for maintaining hygiene and preventing moisture buildup.
- Safety: Secure the Kallax bed to the wall if located on an upper floor or in a home with children to prevent tipping.
 Conclusion: A Bed Beyond Expectations
Transforming an IKEA Kallax into a stylish bed is not merely a furniture hack; it’s an exercise in creativity, resourcefulness, and personal expression. By merging functionality with aesthetics, this project exemplifies the power of DIY ingenuity. Turning an everyday item into a centerpiece that defines your living space. Whether you’re a small-space dweller seeking optimization or a design enthusiast yearning for a unique touch, the ikea Kallax bed transformation stands as a testament to the endless possibilities when imagination meets practicality. So, embrace the challenge, and let your snooze central become a reflection of your dreams, quite literally.