Introduction: Embracing Elevated Gardening
In recent years, raised garden beds have surged in popularity among gardening enthusiasts for their numerous benefits, including improved soil quality, better drainage, and easier access for planting and maintenance. However, traditional raised beds can still pose challenges for individuals with limited mobility or space constraints. That’s where raised garden beds with legs come in. These elevated structures offer all the advantages of traditional raised beds while providing additional height and accessibility, making them perfect for urban gardens, small spaces, and individuals with physical limitations. In this comprehensive guide, we’ll explore how to build a raised garden bed with legs, from planning and materials to assembly and maintenance, empowering you to create a thriving garden wherever you are.

1. Planning Your Raised Garden Bed
Before you begin building your raised garden bed with legs, take some time to plan and design your layout. Consider factors such as the available space, sunlight exposure, soil quality, and your gardening goals and preferences. Determine the size and shape of your raised bed based on the dimensions of your space and the types of plants you wish to grow. Sketch out a rough design, noting the placement of any pathways, access points, or additional features such as trellises or drip irrigation systems. By planning ahead, you can ensure that your raised garden bed fits seamlessly into your garden landscape and meets your needs for years to come.
2. Choosing the Right Materials
When it comes to building a raised garden bed with legs, selecting the right materials is key to ensuring durability, longevity, and functionality. Opt for weather-resistant and non-toxic materials such as cedar, redwood, or composite lumber that can withstand outdoor conditions and won’t leach harmful chemicals into the soil. Avoid treated lumber or pressure-treated wood, which may contain toxic substances that can harm plants and the environment. Additionally, consider using corrosion-resistant fasteners such as stainless steel or galvanized screws to assemble your raised bed, ensuring stability and structural integrity over time.
3. Building the Frame
Once you’ve gathered your materials, it’s time to start building the frame of your raised garden bed with legs. Begin by cutting your lumber to the desired dimensions, taking care to ensure accurate measurements and square cuts for a professional finish. Assemble the frame by attaching the side panels to the corner posts using screws or nails, ensuring that the corners are square and the frame is sturdy and level. Depending on the height of your raised bed, you may need to add additional support braces or crossbars to reinforce the structure and prevent warping or bowing over time.
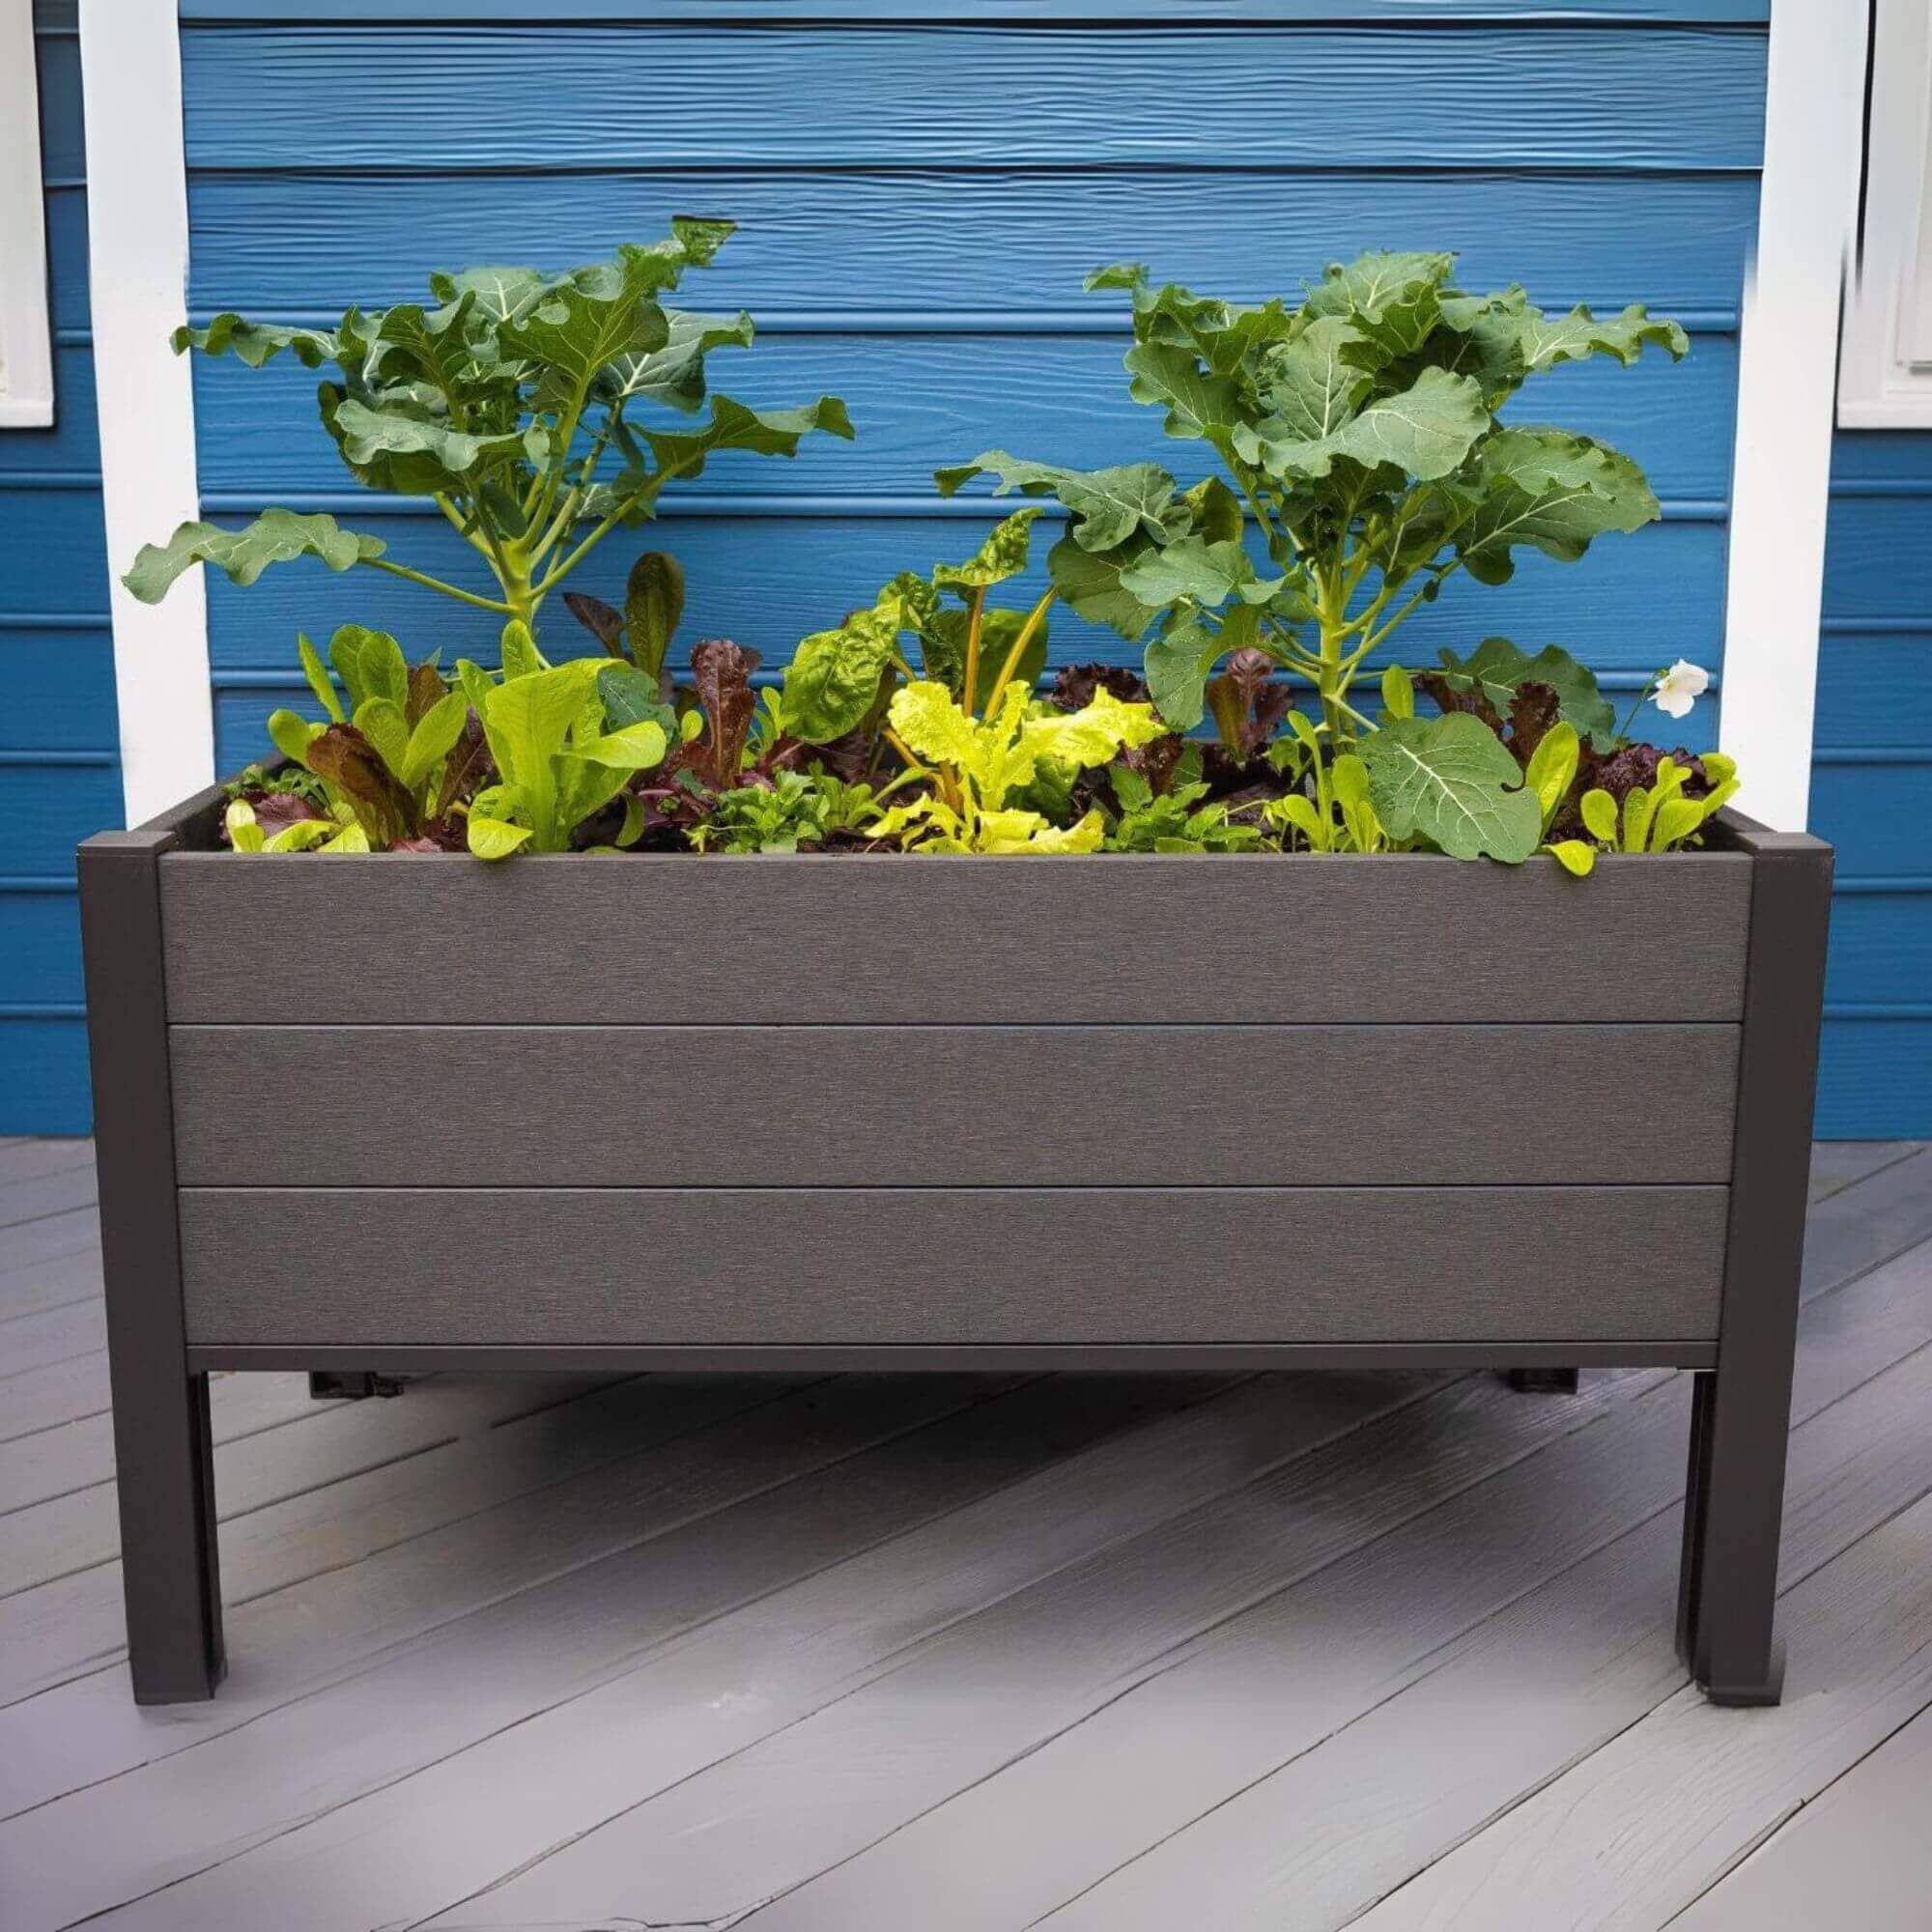
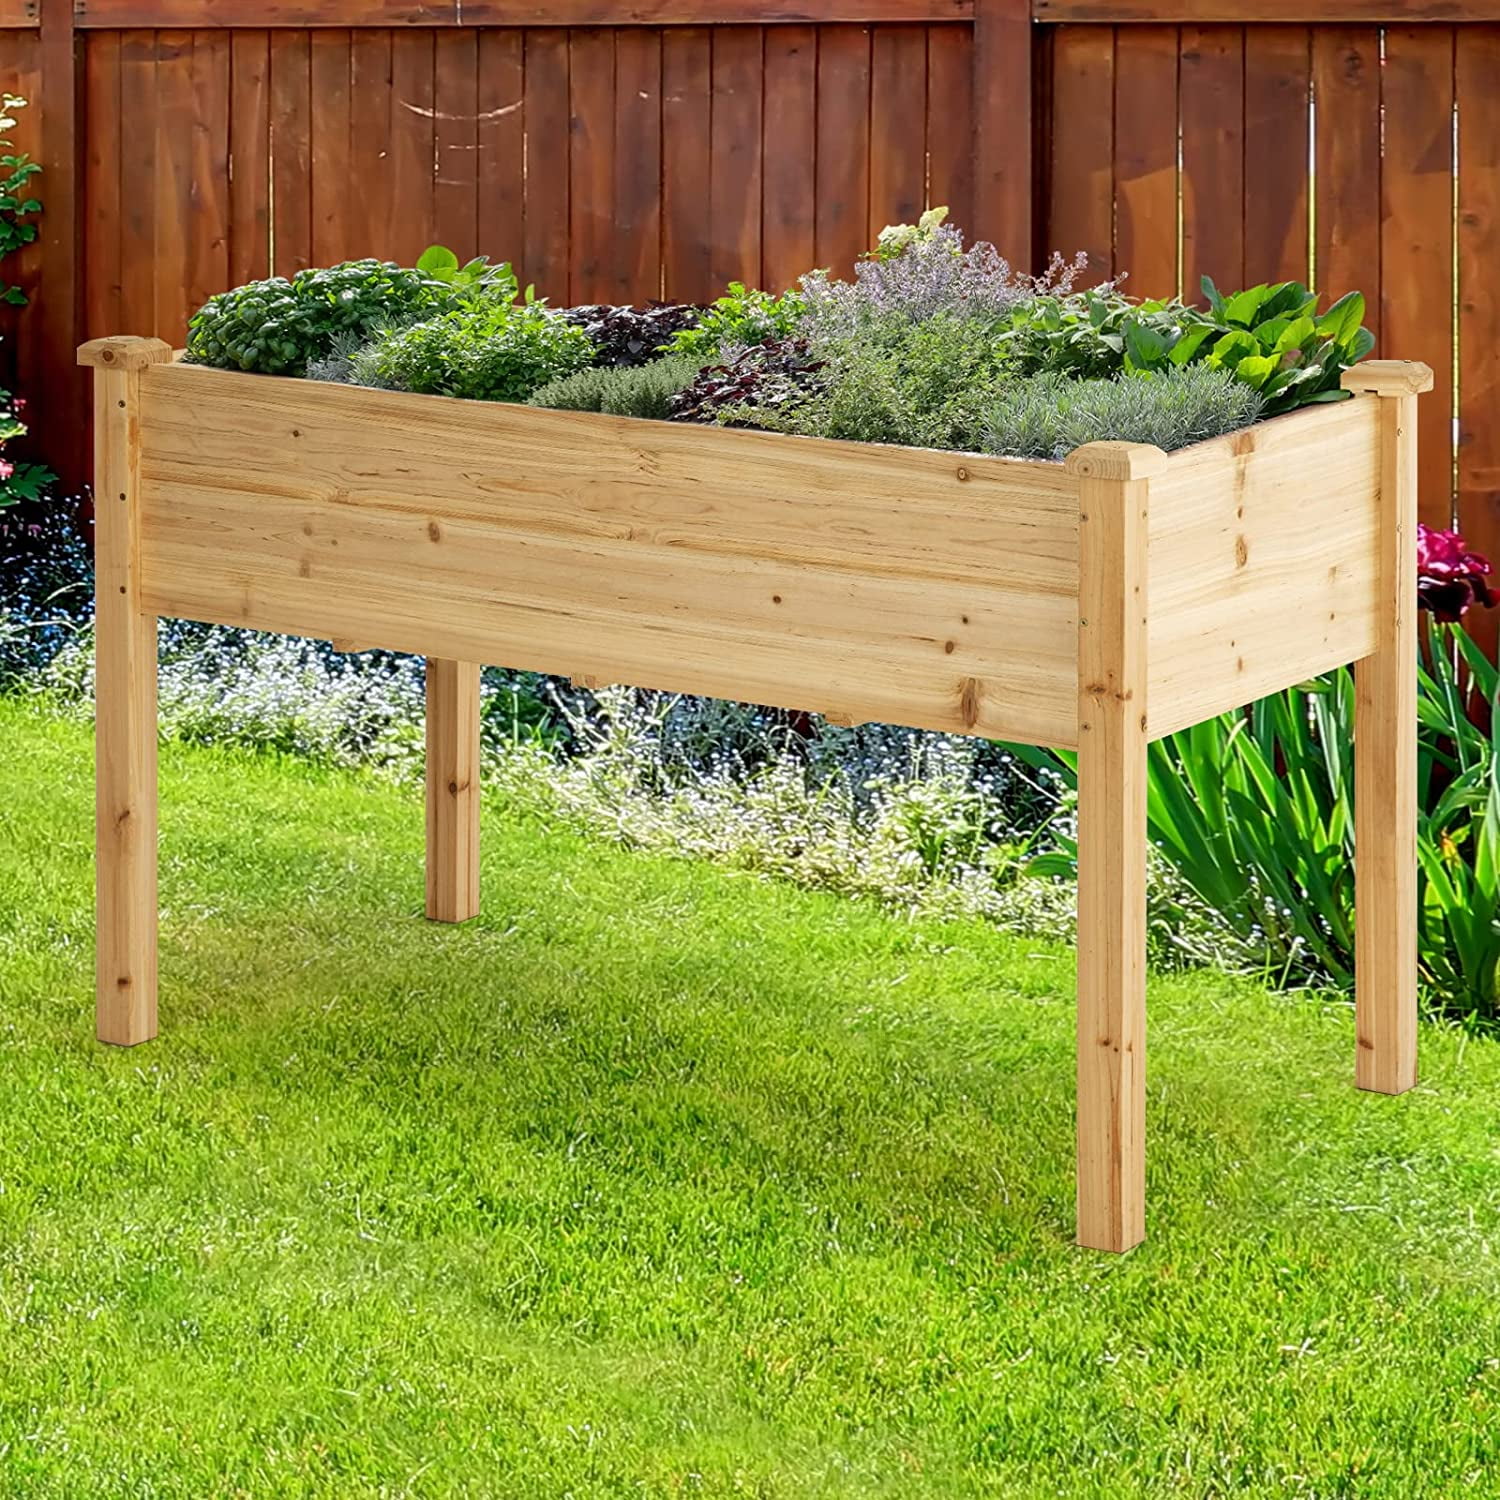
4. Adding Legs for Elevation
The defining feature of a raised garden bed with legs is, of course, the legs themselves. These elevated supports elevate the bed off the ground, providing easier access for planting, watering, and harvesting while reducing strain on your back and knees. To add legs to your raised bed, cut four pieces of lumber to the desired height, typically around 24 to 36 inches depending on your preferences and physical needs. Attach the legs to the bottom of the frame using screws or bolts, ensuring that they are evenly spaced and securely fastened to support the weight of the soil and plants.

5. Preparing the Soil
With the frame and legs of your raised garden bed assembled, it’s time to fill it with soil and prepare it for planting. Choose a high-quality, well-draining potting mix or garden soil that is rich in organic matter and nutrients to provide an optimal growing environment for your plants. Fill the raised bed with soil, layering it evenly and compacting it gently to remove any air pockets. Consider amending the soil with compost, aged manure, or organic fertilizers to enrich its fertility and promote healthy plant growth. Once the soil is prepared, water it thoroughly to ensure proper moisture levels and settle the soil in place.
6. Planting Your Garden
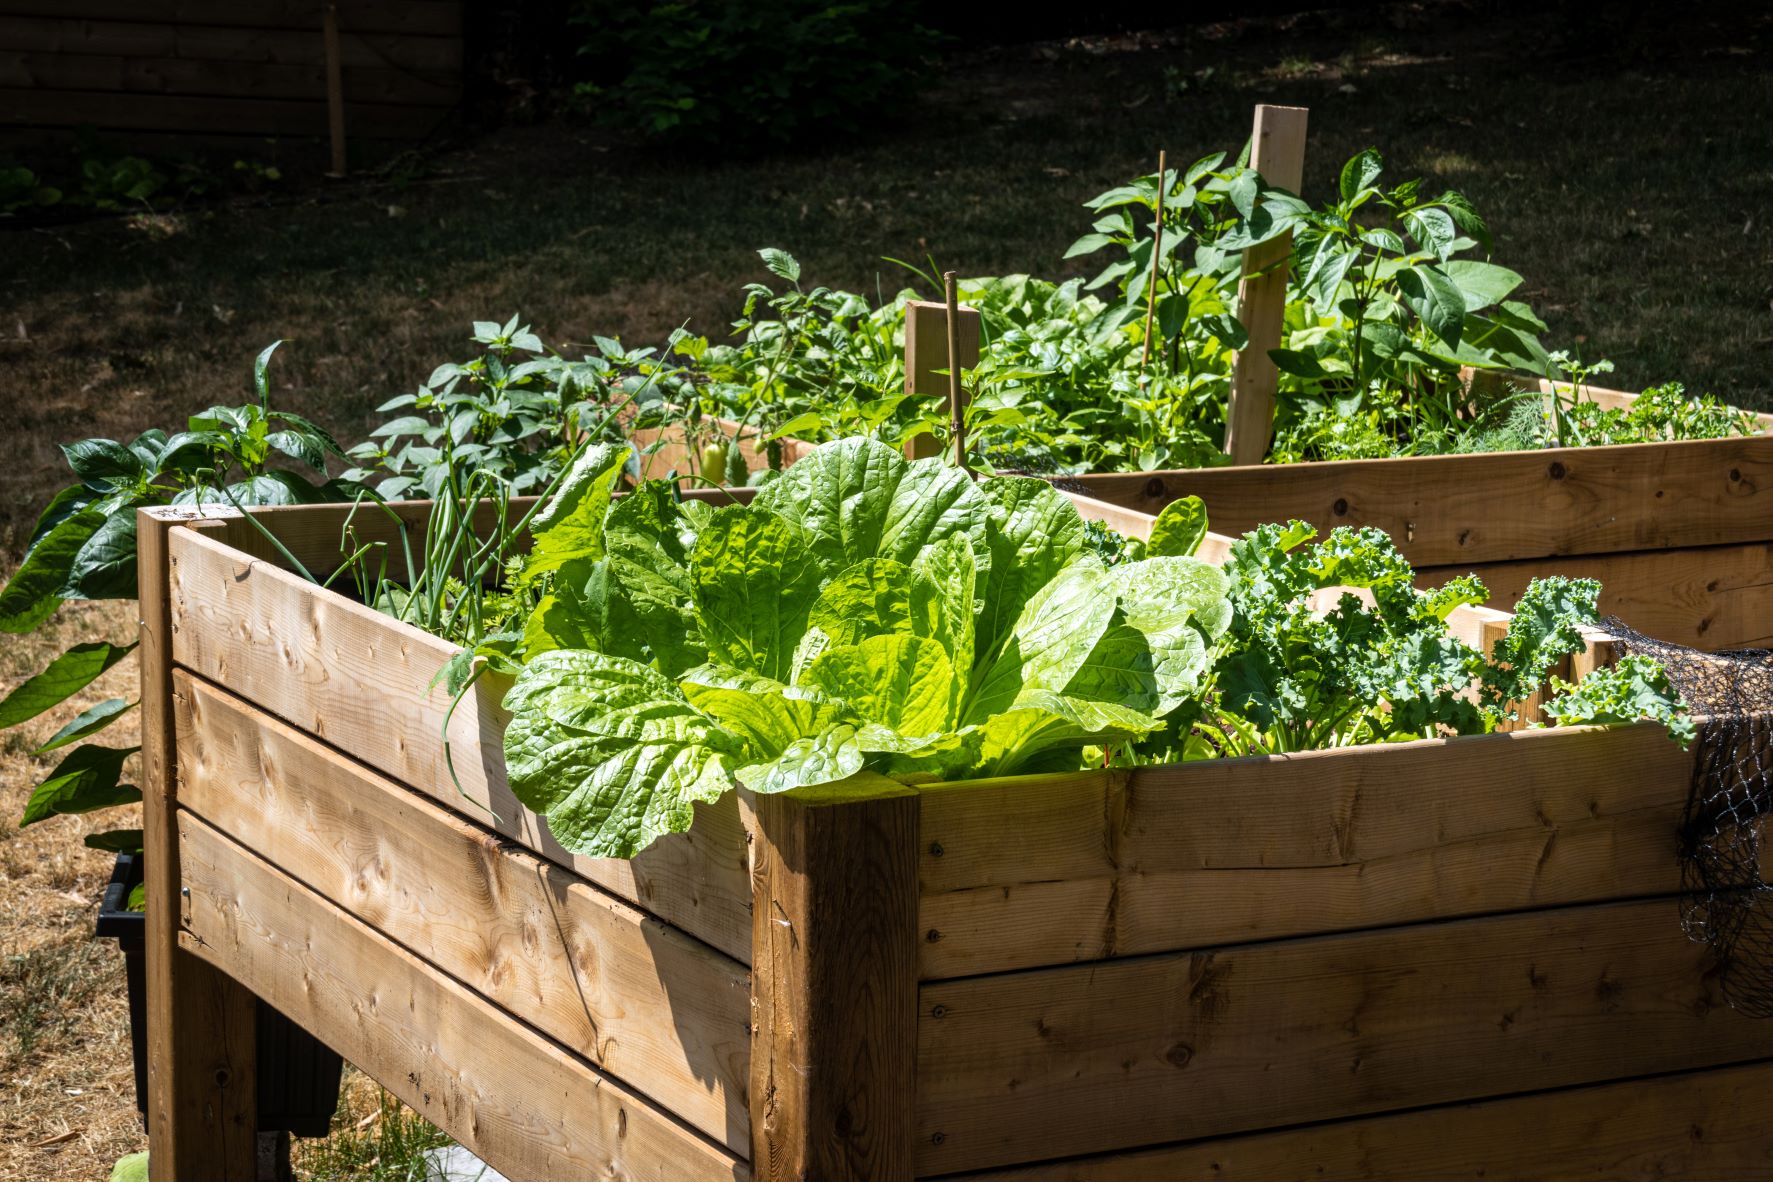
With your raised garden bed fully assembled and filled with soil, it’s time to plant your garden and bring it to life. Choose a variety of plants that thrive in your climate and growing conditions, taking into account factors such as sunlight, water requirements, and compatibility with neighboring plants. Arrange your plants in the raised bed according to their spacing and height requirements, leaving enough room for growth and airflow between them. Consider companion planting strategies to maximize yields, deter pests, and improve soil health, such as planting herbs alongside vegetables or flowers to attract beneficial insects. With careful planning and attention to detail, you can create a lush and productive garden in your raised bed with legs.
7. Watering and Maintenance
Once your garden is planted, it’s important to establish a regular watering and maintenance routine to ensure its health and vitality. Water your raised bed deeply and evenly, taking care to keep the soil consistently moist but not waterlogged. Consider installing a drip irrigation system or soaker hose to deliver water directly to the roots of your plants, minimizing evaporation and water waste. Monitor your garden regularly for signs of pests, diseases, or nutrient deficiencies, and address any issues promptly to prevent them from spreading. Weed your raised bed regularly to prevent competition for nutrients and water, and mulch the soil surface to retain moisture, suppress weeds, and regulate soil temperature.
8. Harvesting and Enjoying Your Garden
As your plants grow and thrive in your raised garden bed with legs, you’ll soon be rewarded with a bountiful harvest of fresh, homegrown produce to enjoy. Harvest your crops regularly as they ripen, taking care to handle them gently to avoid damaging the plants or fruit. Enjoy the fruits of your labor in delicious meals, salads, and snacks, or share your harvest with friends, family, and neighbors to spread the joy of gardening. Take time to appreciate the beauty and abundance of your garden, and celebrate the satisfaction of growing your own food and flowers in a raised bed that you built with your own hands.

Conclusion: Elevate Your Gardening Experience
In conclusion, building a raised garden bed with legs is a rewarding and practical way to elevate your gardening experience and create a thriving oasis of greenery and beauty wherever you are. By planning carefully, choosing quality materials, and following proper construction and maintenance techniques, you can build a raised bed that not only enhances your garden landscape but also makes gardening more accessible and enjoyable for people of all ages and abilities. So why wait? Roll up your sleeves, gather your tools, and embark on the journey of building and growing in a raised garden bed with legs today. Your garden—and your back—will thank you for it.