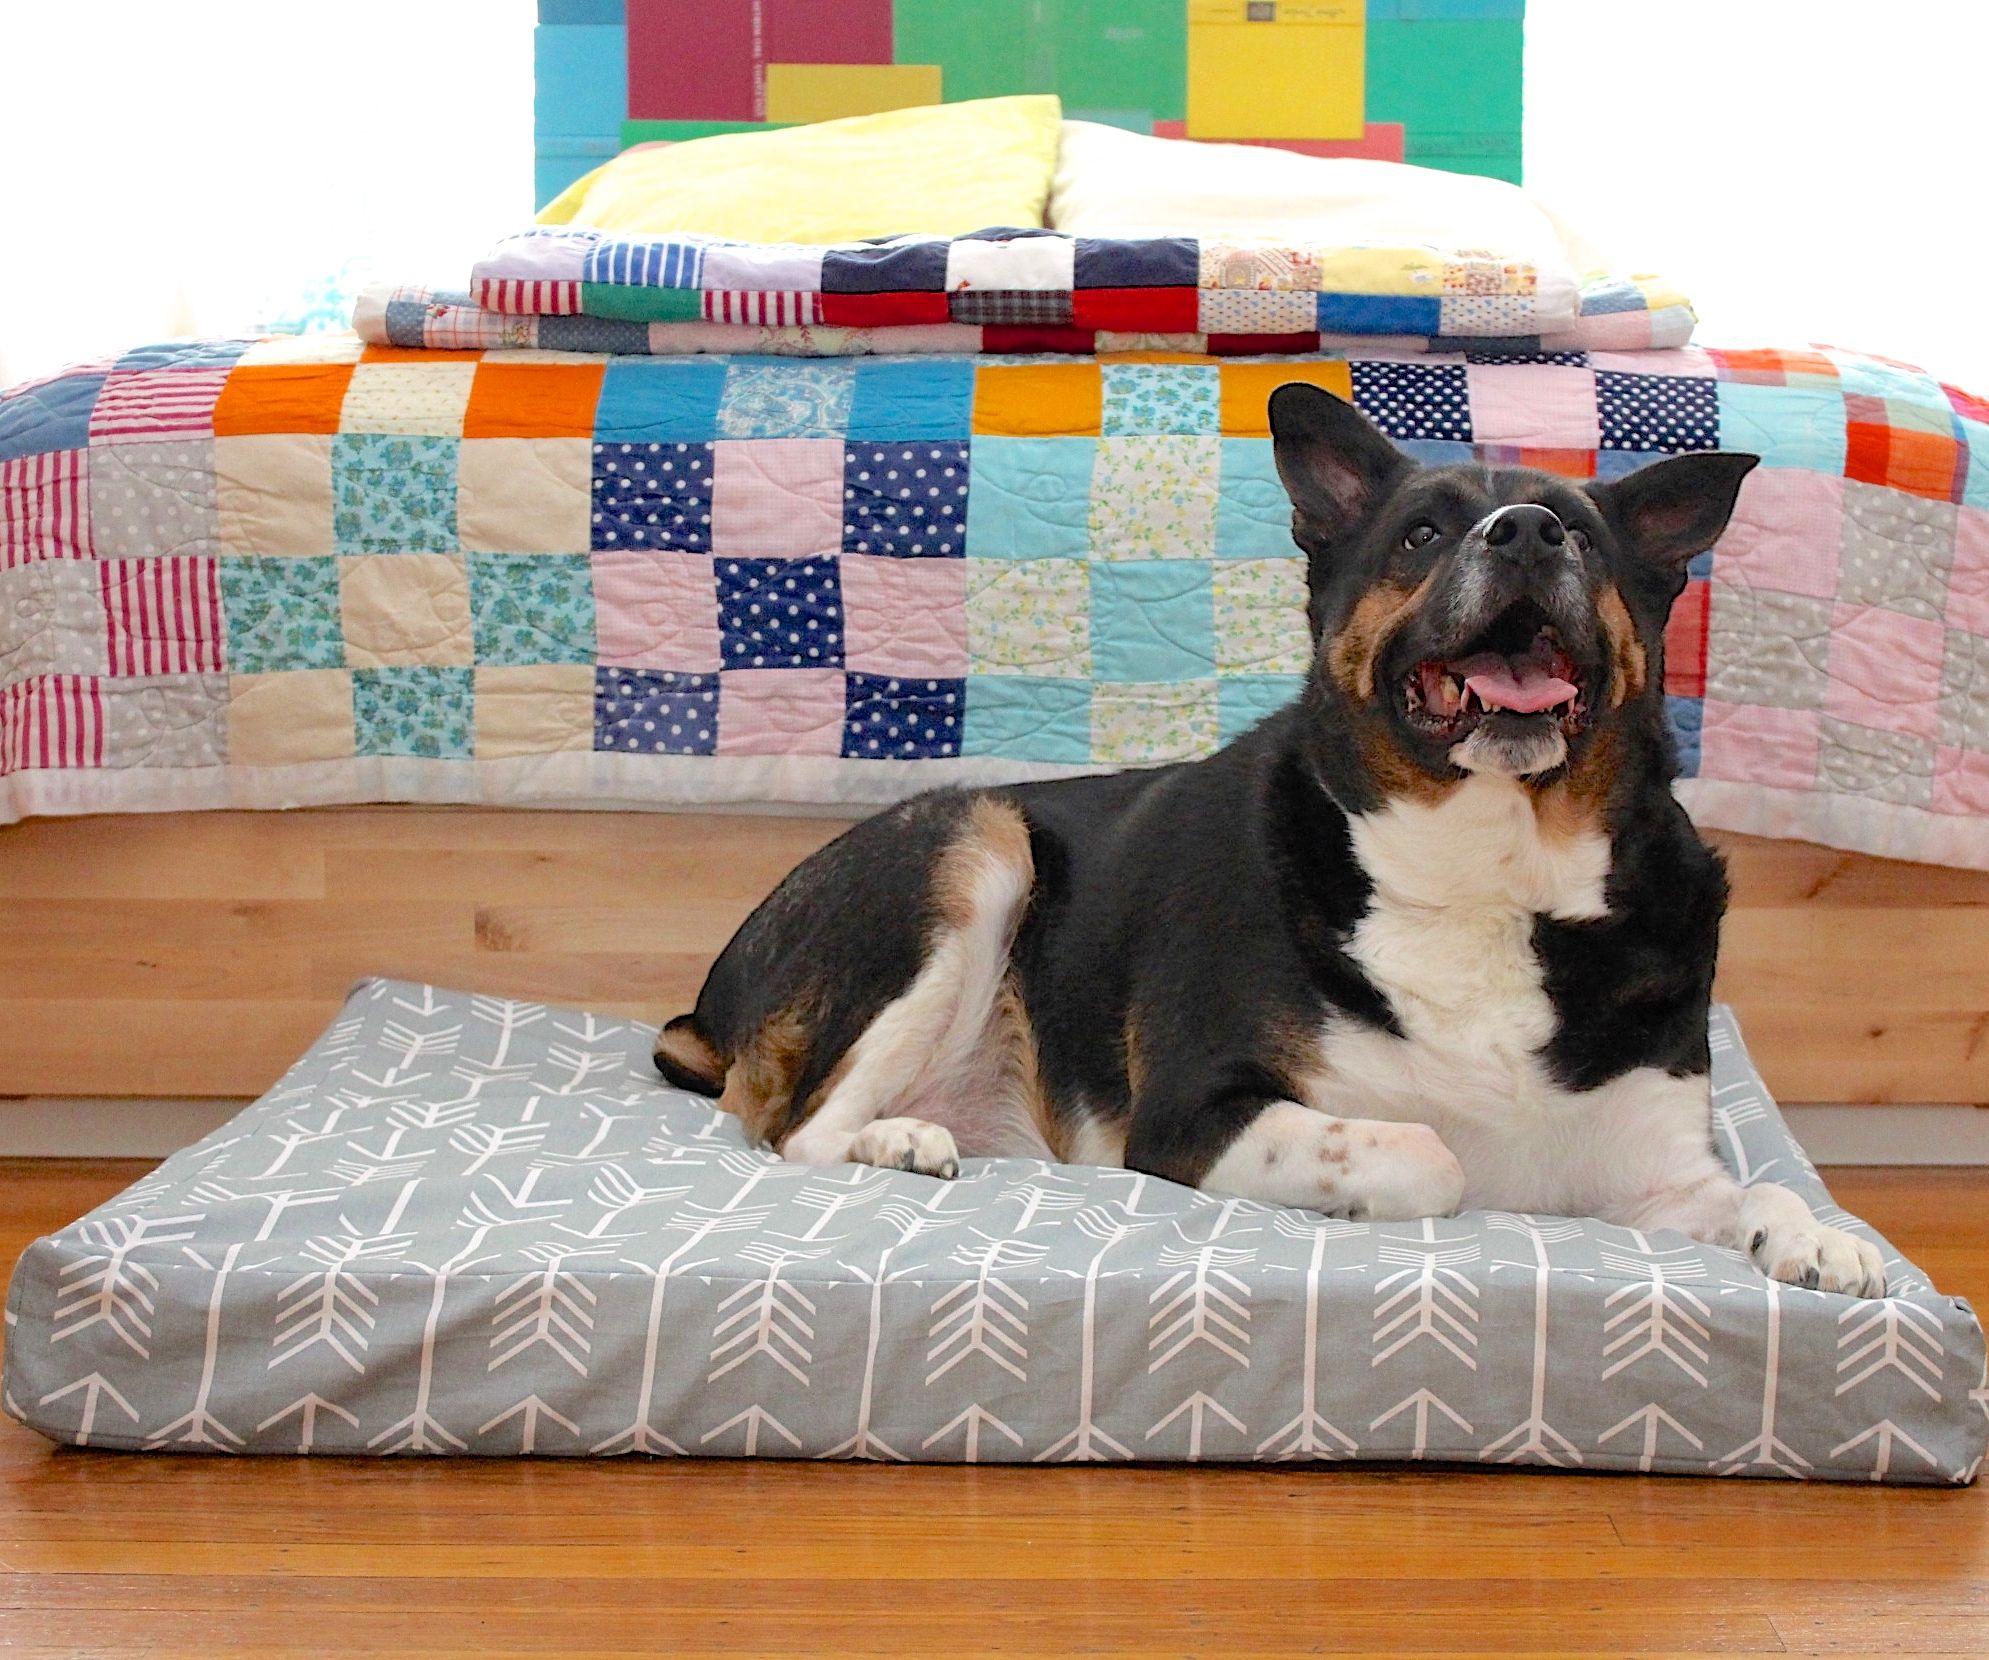
Dogs are more than just pets; they’re cherished members of the family. As such, it’s important to provide them with a comfortable and cozy space where they can rest and relax. A DIY dog bed is not only a practical solution but also a fun and rewarding project that allows you to customize the bed to suit your dog’s unique needs and personality. In this guide, we’ll explore everything you need to know to craft the perfect DIY dog bed for your furry friend.
1. Assessing Your Dog’s Needs: Choosing the Right Design
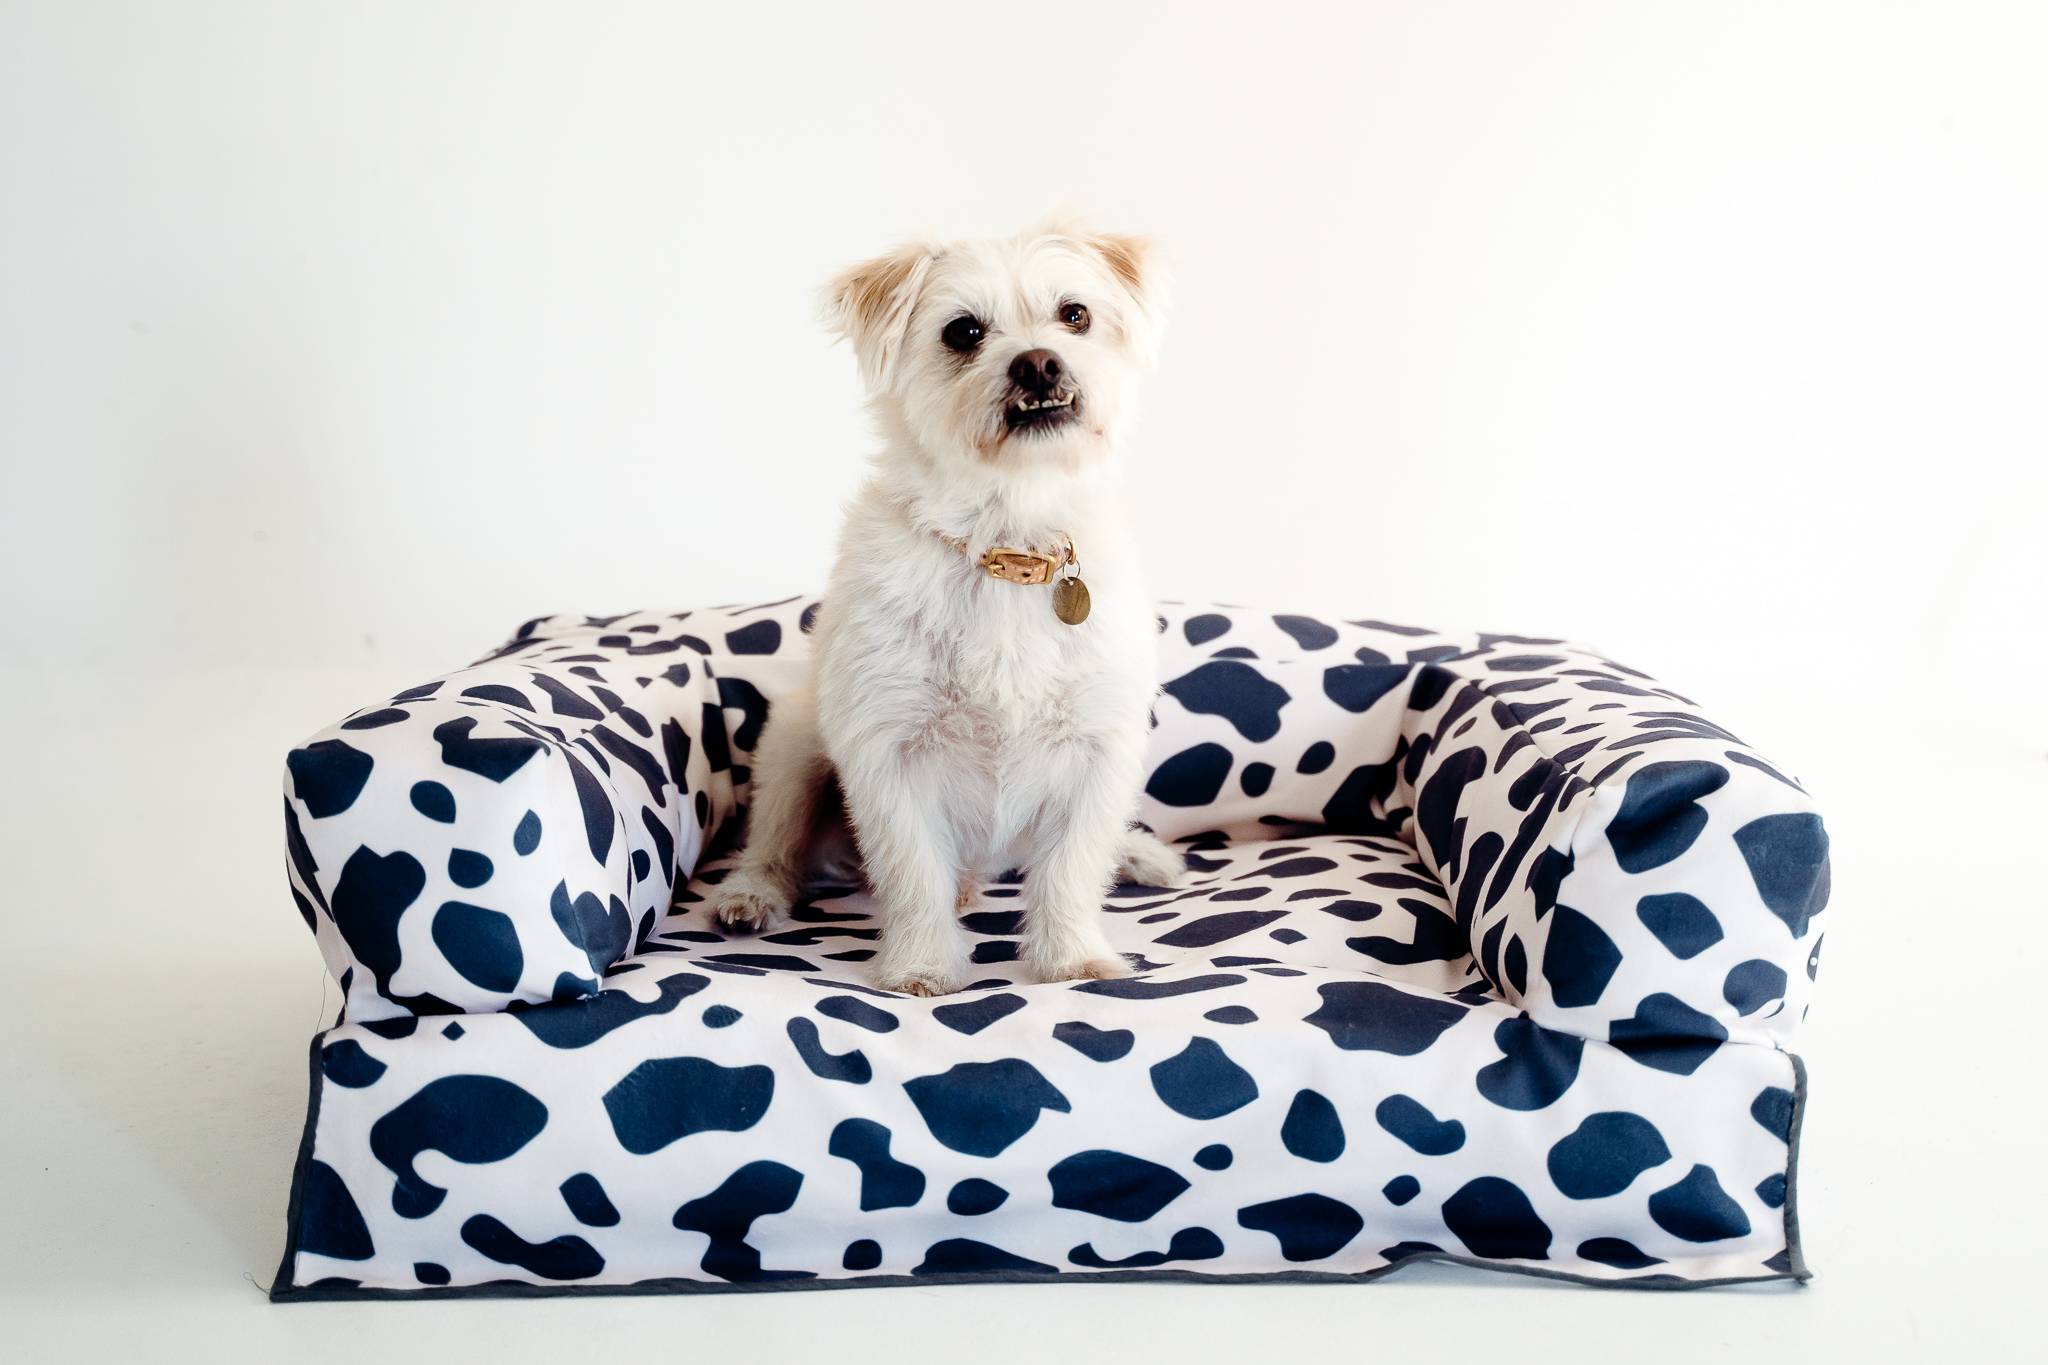
Before diving into the DIY process, it’s essential to assess your dog’s needs and preferences to determine the most suitable bed design. Consider factors such as your dog’s size, age, breed, sleeping habits, and any specific health concerns. For example, older dogs or those with arthritis may benefit from a memory foam or orthopedic bed, while active breeds may prefer a durable and washable fabric. By understanding your dog’s unique requirements, you can choose a design that promotes comfort, support, and overall well-being.
2. Gathering Supplies and Materials: Preparing for the Project
Once you’ve decided on a design for your DIY dog bed, it’s time to gather the necessary supplies and materials. The exact items you’ll need will depend on the chosen design, but common materials include foam or padding for the bed base, fabric for the cover, thread, scissors, a sewing machine (or needle and thread for hand-sewing), and any embellishments or decorations you’d like to add. Consider opting for durable, easy-to-clean fabrics that can withstand regular use and washing, ensuring longevity and hygiene for your dog’s bed.
3. Designing the Bed Base: Creating a Foundation for Comfort
The bed base serves as the foundation for your dog’s comfort, providing support and insulation from hard floors. Depending on your dog’s needs and preferences, you can choose from various materials for the bed base, such as foam padding, memory foam, polyester fiberfill, or even repurposed items like old pillows or blankets. Measure and cut the chosen material to the desired size and shape, ensuring that it fits snugly within the dimensions of the bed cover. Layer multiple materials for added cushioning and support, customizing the thickness and firmness to suit your dog’s comfort preferences.
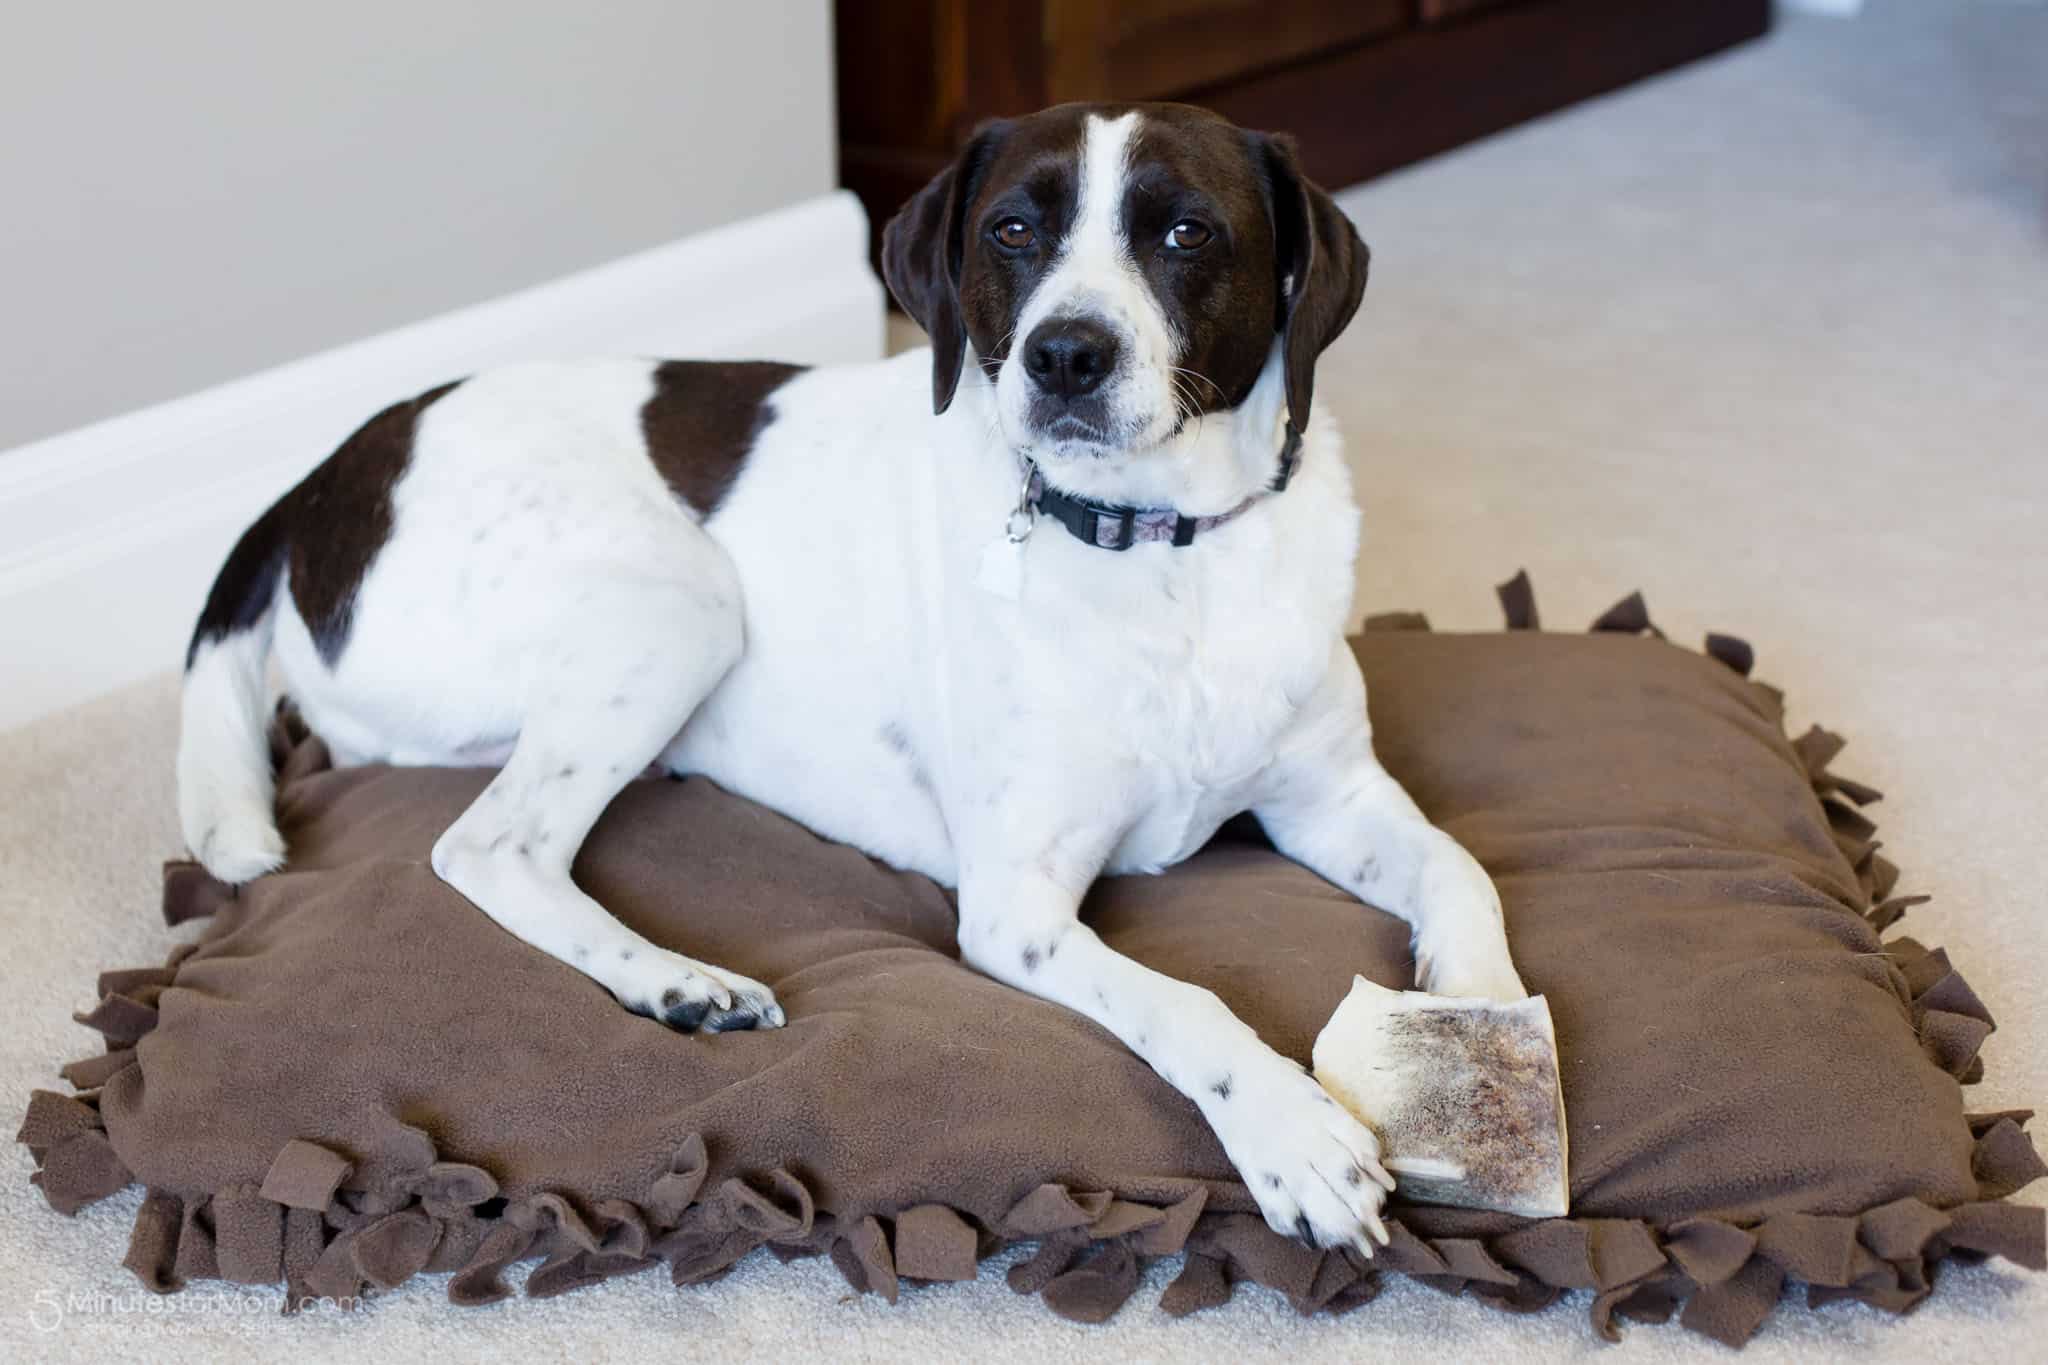
4. Crafting the Bed Cover: Sewing Together Comfort and Style
Once you have the bed base prepared, it’s time to create the cover that will encase it and provide a cozy sleeping surface for your dog. Choose a durable and machine-washable fabric that complements your home decor and reflects your dog’s personality. Measure and cut the fabric according to the dimensions of the bed base, adding extra allowance for seam allowance and hemming. If desired, you can also add decorative elements such as piping, appliques, or embroidery to personalize the bed cover and make it truly one-of-a-kind.
5. Assembling the Dog Bed: Putting It All Together
With the bed base and cover prepared, it’s time to assemble the DIY dog bed. Place the bed base within the center of the fabric cover, ensuring that it is positioned evenly and securely. If necessary, use pins to hold the fabric in place before sewing. Using a sewing machine or needle and thread, stitch the edges of the fabric together, leaving one side open for inserting and removing the bed base. Reinforce the seams for added durability, especially if your dog is prone to scratching or nesting behavior. Once the cover is securely stitched, turn it right-side out and insert the bed base, closing the open side with a sturdy seam or zipper closure.
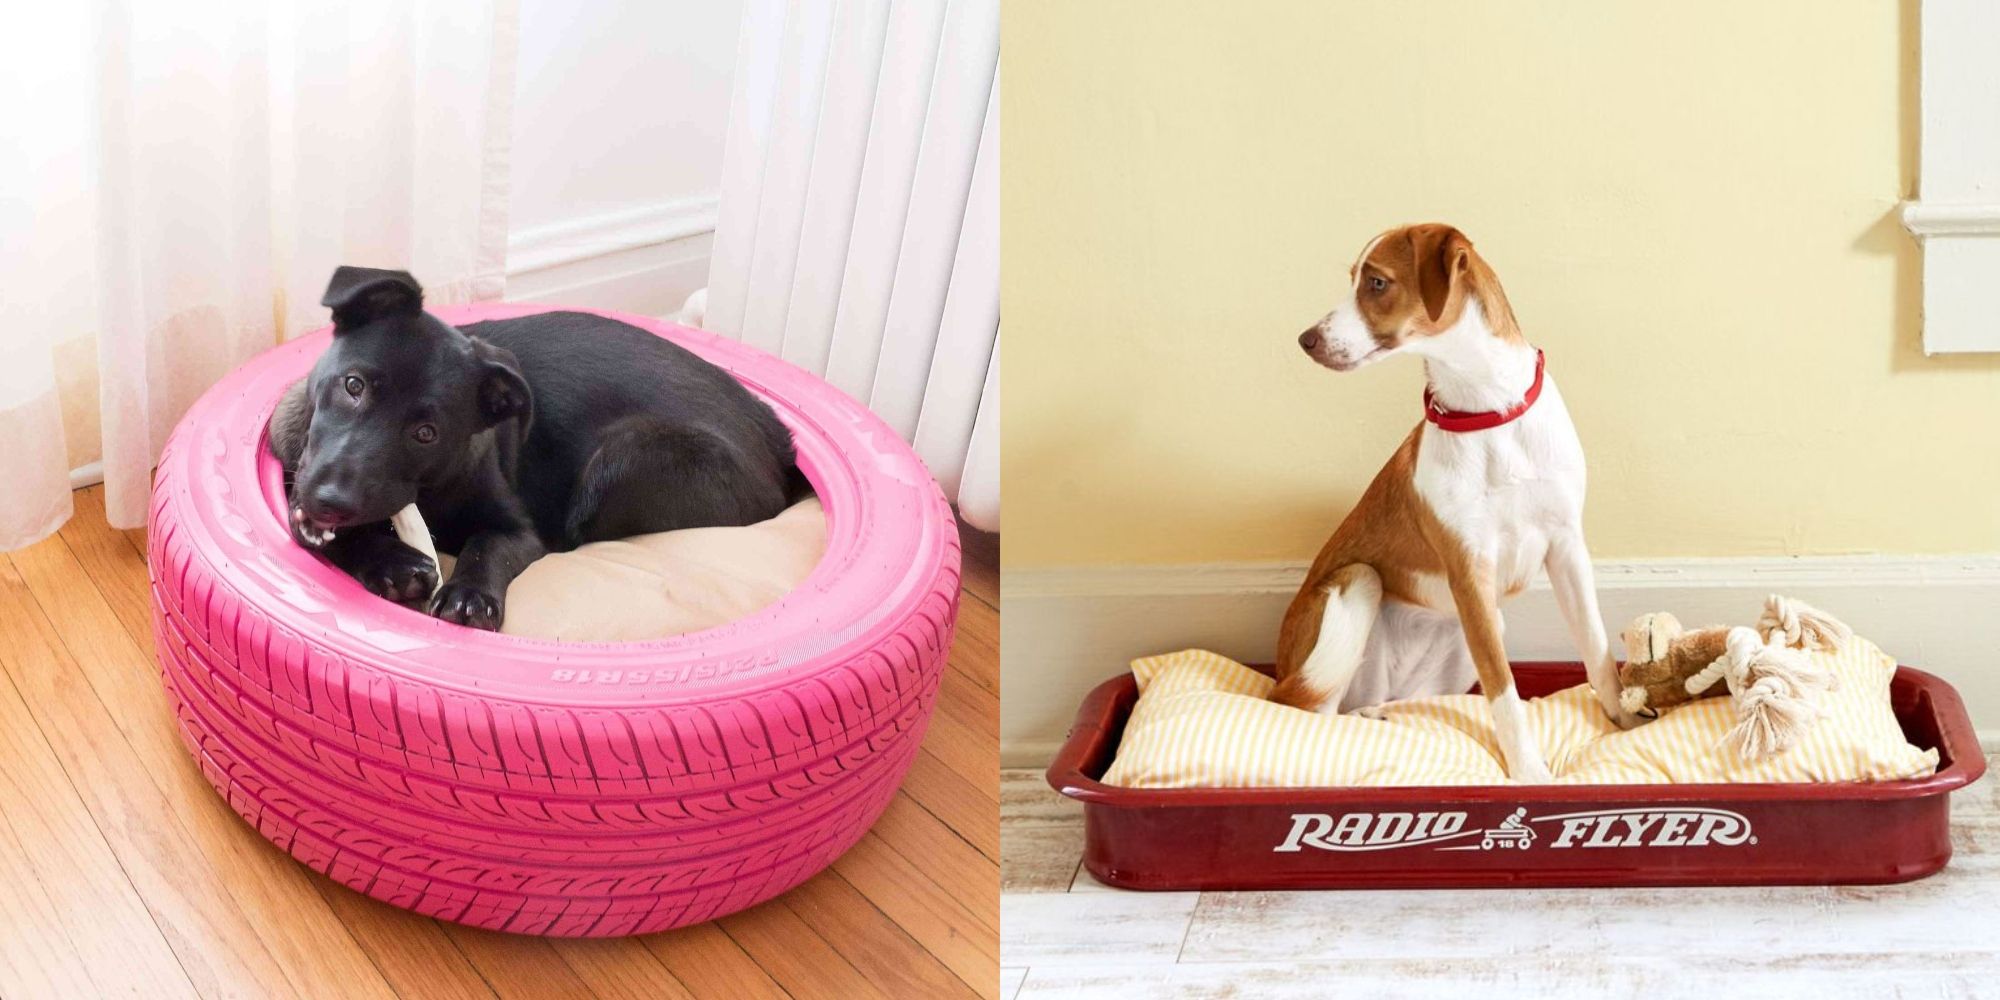
6. Adding Finishing Touches: Making It Extra Special
With the basic structure of the DIY dog bed complete, it’s time to add any finishing touches to enhance comfort, functionality, and style. Consider adding removable covers or liners for easy cleaning and maintenance, as well as non-slip grips or feet to prevent the bed from sliding on smooth floors. Personalize the bed with your dog’s name or monogram, or incorporate pockets or pouches for storing toys, treats, or grooming supplies. Get creative with decorative accents such as ribbons, buttons, or patches to make the bed uniquely yours and your dog’s.
7. Testing and Tailoring: Ensuring Comfort and Satisfaction
Before presenting the DIY dog bed to your furry friend, take some time to test it out yourself to ensure that it meets your expectations for comfort, durability, and aesthetics. Place the bed in your dog’s favorite sleeping spot and observe their reaction, making any necessary adjustments to the bed’s size, shape, or firmness based on their feedback. Keep in mind that it may take some time for your dog to adjust to the new bed, so be patient and encouraging as they explore and settle into their cozy new sleeping space.
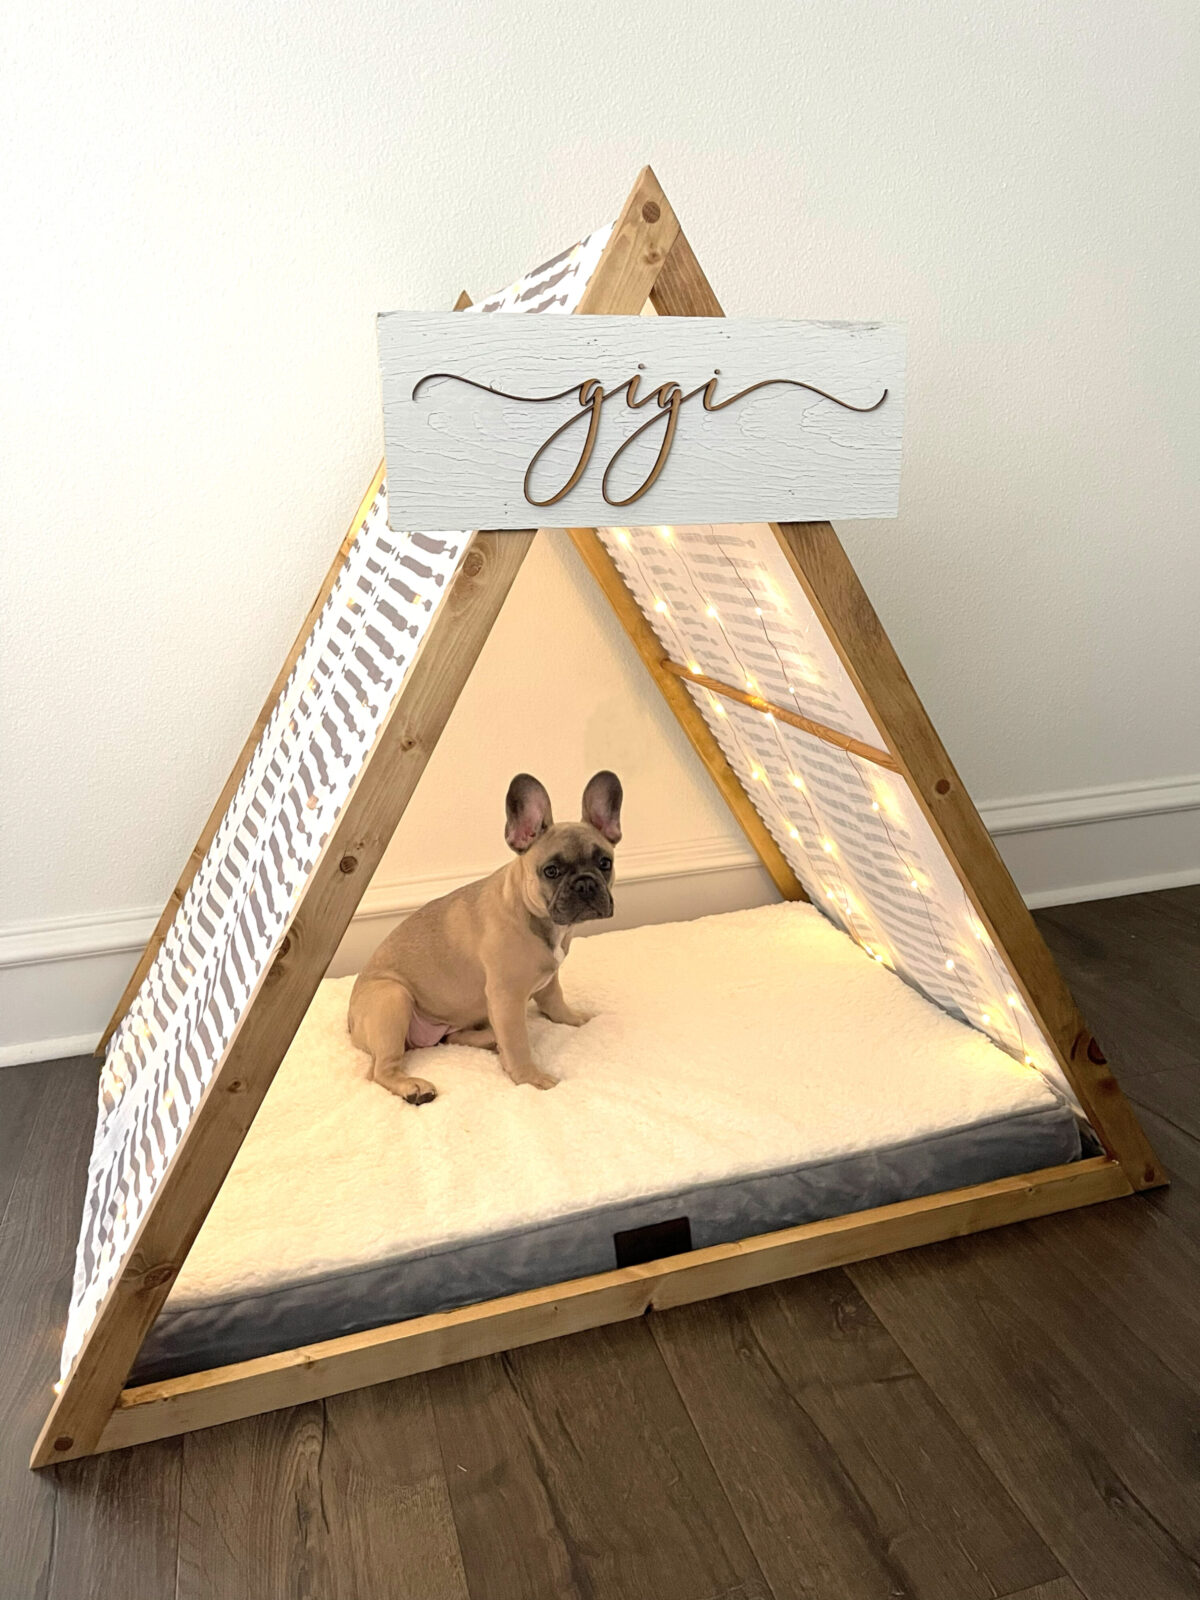
8. Maintaining and Caring: Keeping Your Dog’s Bed Clean and Fresh
To prolong the life of your DIY dog bed and ensure a hygienic sleeping environment for your pet, it’s important to establish a regular cleaning and maintenance routine. Remove and wash the bed cover and any removable components according to the manufacturer’s instructions or as needed, using pet-safe detergent and avoiding harsh chemicals or bleach. Vacuum or shake out the bed base periodically to remove loose hair, dirt, and debris, and spot clean any stains or spills promptly to prevent them from setting in. By taking proactive steps to keep your dog’s bed clean and fresh, you can promote their health and well-being while extending the longevity of your DIY creation.
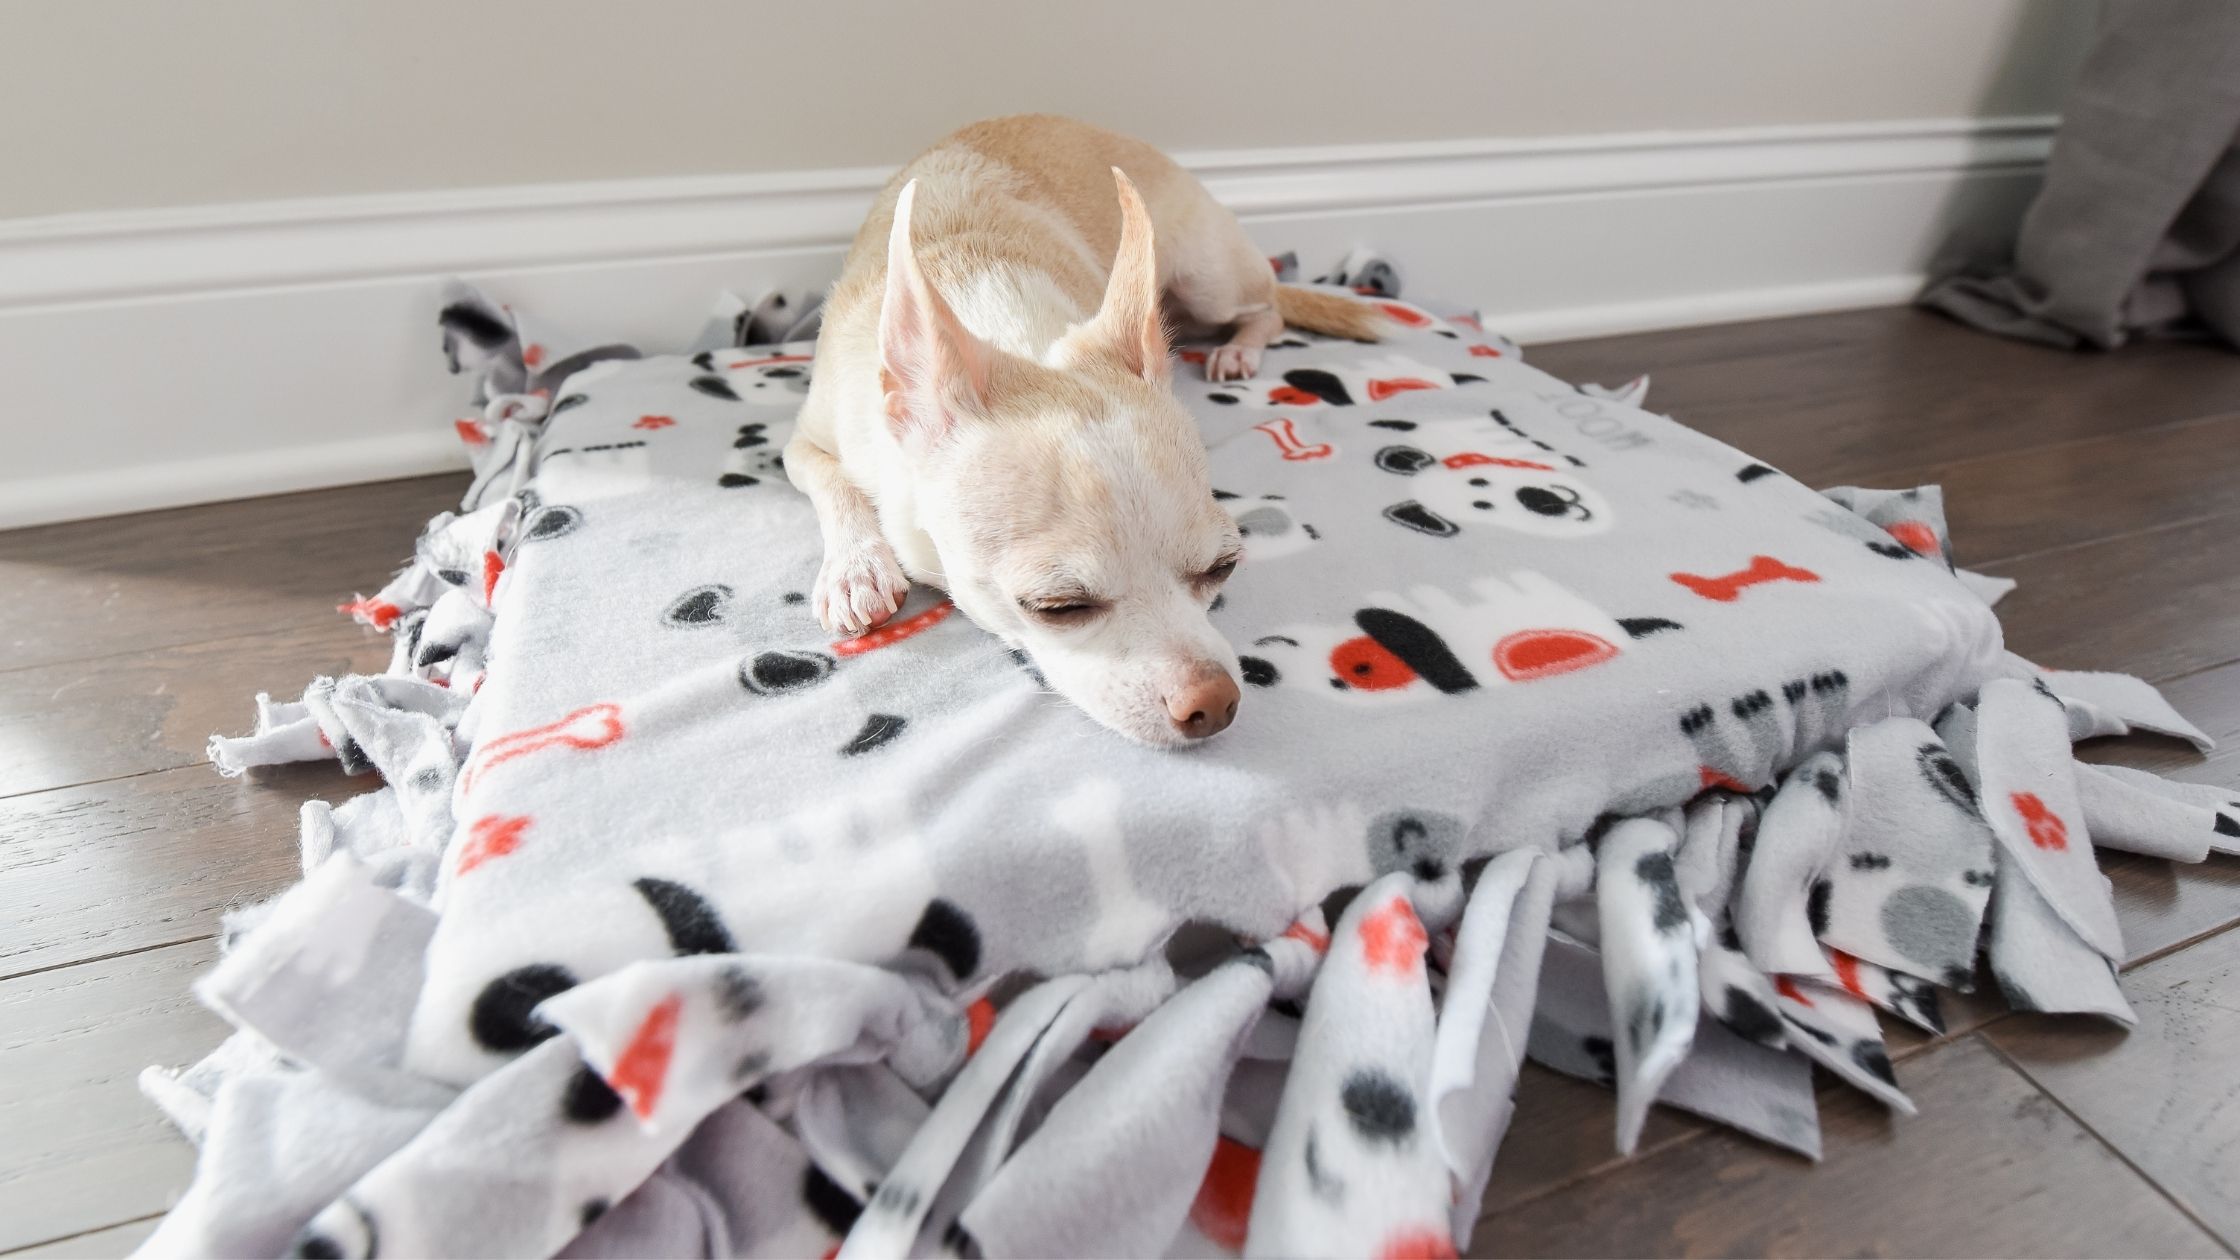
Conclusion: Crafting Comfort and Joy for Your Canine Companion
A DIY dog bed is more than just a practical accessory; it’s a labor of love that reflects your dedication to your canine companion’s comfort and happiness. By assessing your dog’s needs, gathering quality materials, and embracing your creativity, you can create a personalized sleeping space that provides years of comfort and joy for your furry friend. Whether you opt for a simple design or a more elaborate creation, the satisfaction of seeing your dog curl up contentedly in their handmade bed is a reward that’s truly priceless. So roll up your sleeves, unleash your creativity, and embark on the rewarding journey of crafting the perfect DIY dog bed for your beloved pooch.
