Introduction: The Art of Maximizing Space
In the realm of compact living, the Murphy bed stands as a testament to ingenuity and practicality. Born out of necessity in the late 19th century, this transformative piece of furniture has evolved from a simple solution for cramped city apartments into a versatile design element cherished in homes worldwide. If you’re among the many seeking to optimize your living space without compromising on comfort, embarking on a DIY Murphy bed project is an adventure worth pursuing. This comprehensive guide will walk you through the steps, from planning to completion, ensuring that you too can create your very own space-saving marvel.
Planning Phase: Measuring and Designing
Measuring Your Space
Before any sawdust flies or screws turn, accurate measurements are paramount. Assess your room, considering not just where the bed will fold down but also its clearance when folded up. Ensure there’s ample space around the bed for movement and that it won’t obstruct windows, outlets, or other fixtures when upright. Measure twice, cut once—this age-old carpentry adage holds especially true here.
Choosing Your Design
Murphy beds come in various designs, from classic vertical to space-efficient horizontal configurations, and even models with integrated shelves or desks. Consider your needs and preferences. Will the bed be primarily for guests, or do you seek a daily-use solution? Decide on the style, materials, and finish that complement your existing decor.
Materials Gathering: A List for Success
To build a sturdy and functional Murphy bed, gather the following materials:
- Plywood sheets (for the bed platform and frame)
- Pine or hardwood for framing
- Metal Murphy bed hardware kit (including lift mechanism, hinges, and brackets)
- Screws, wood glue, and finishing nails
- Sandpaper and wood stain or paint
- Wall mounting hardware
- Optional: pre-made cabinet face or materials to construct one
Tools of the Trade: Essential Equipment
Ensure you have access to the following tools:
- Circular saw or table saw
- Drill/driver with various bits
- Jigsaw (for intricate cuts)
- Level
- Measuring tape and square
- Hammer
- Screwdriver set
- Clamps
- Paintbrushes or rollers
Building the Frame: A Foundation for Comfort
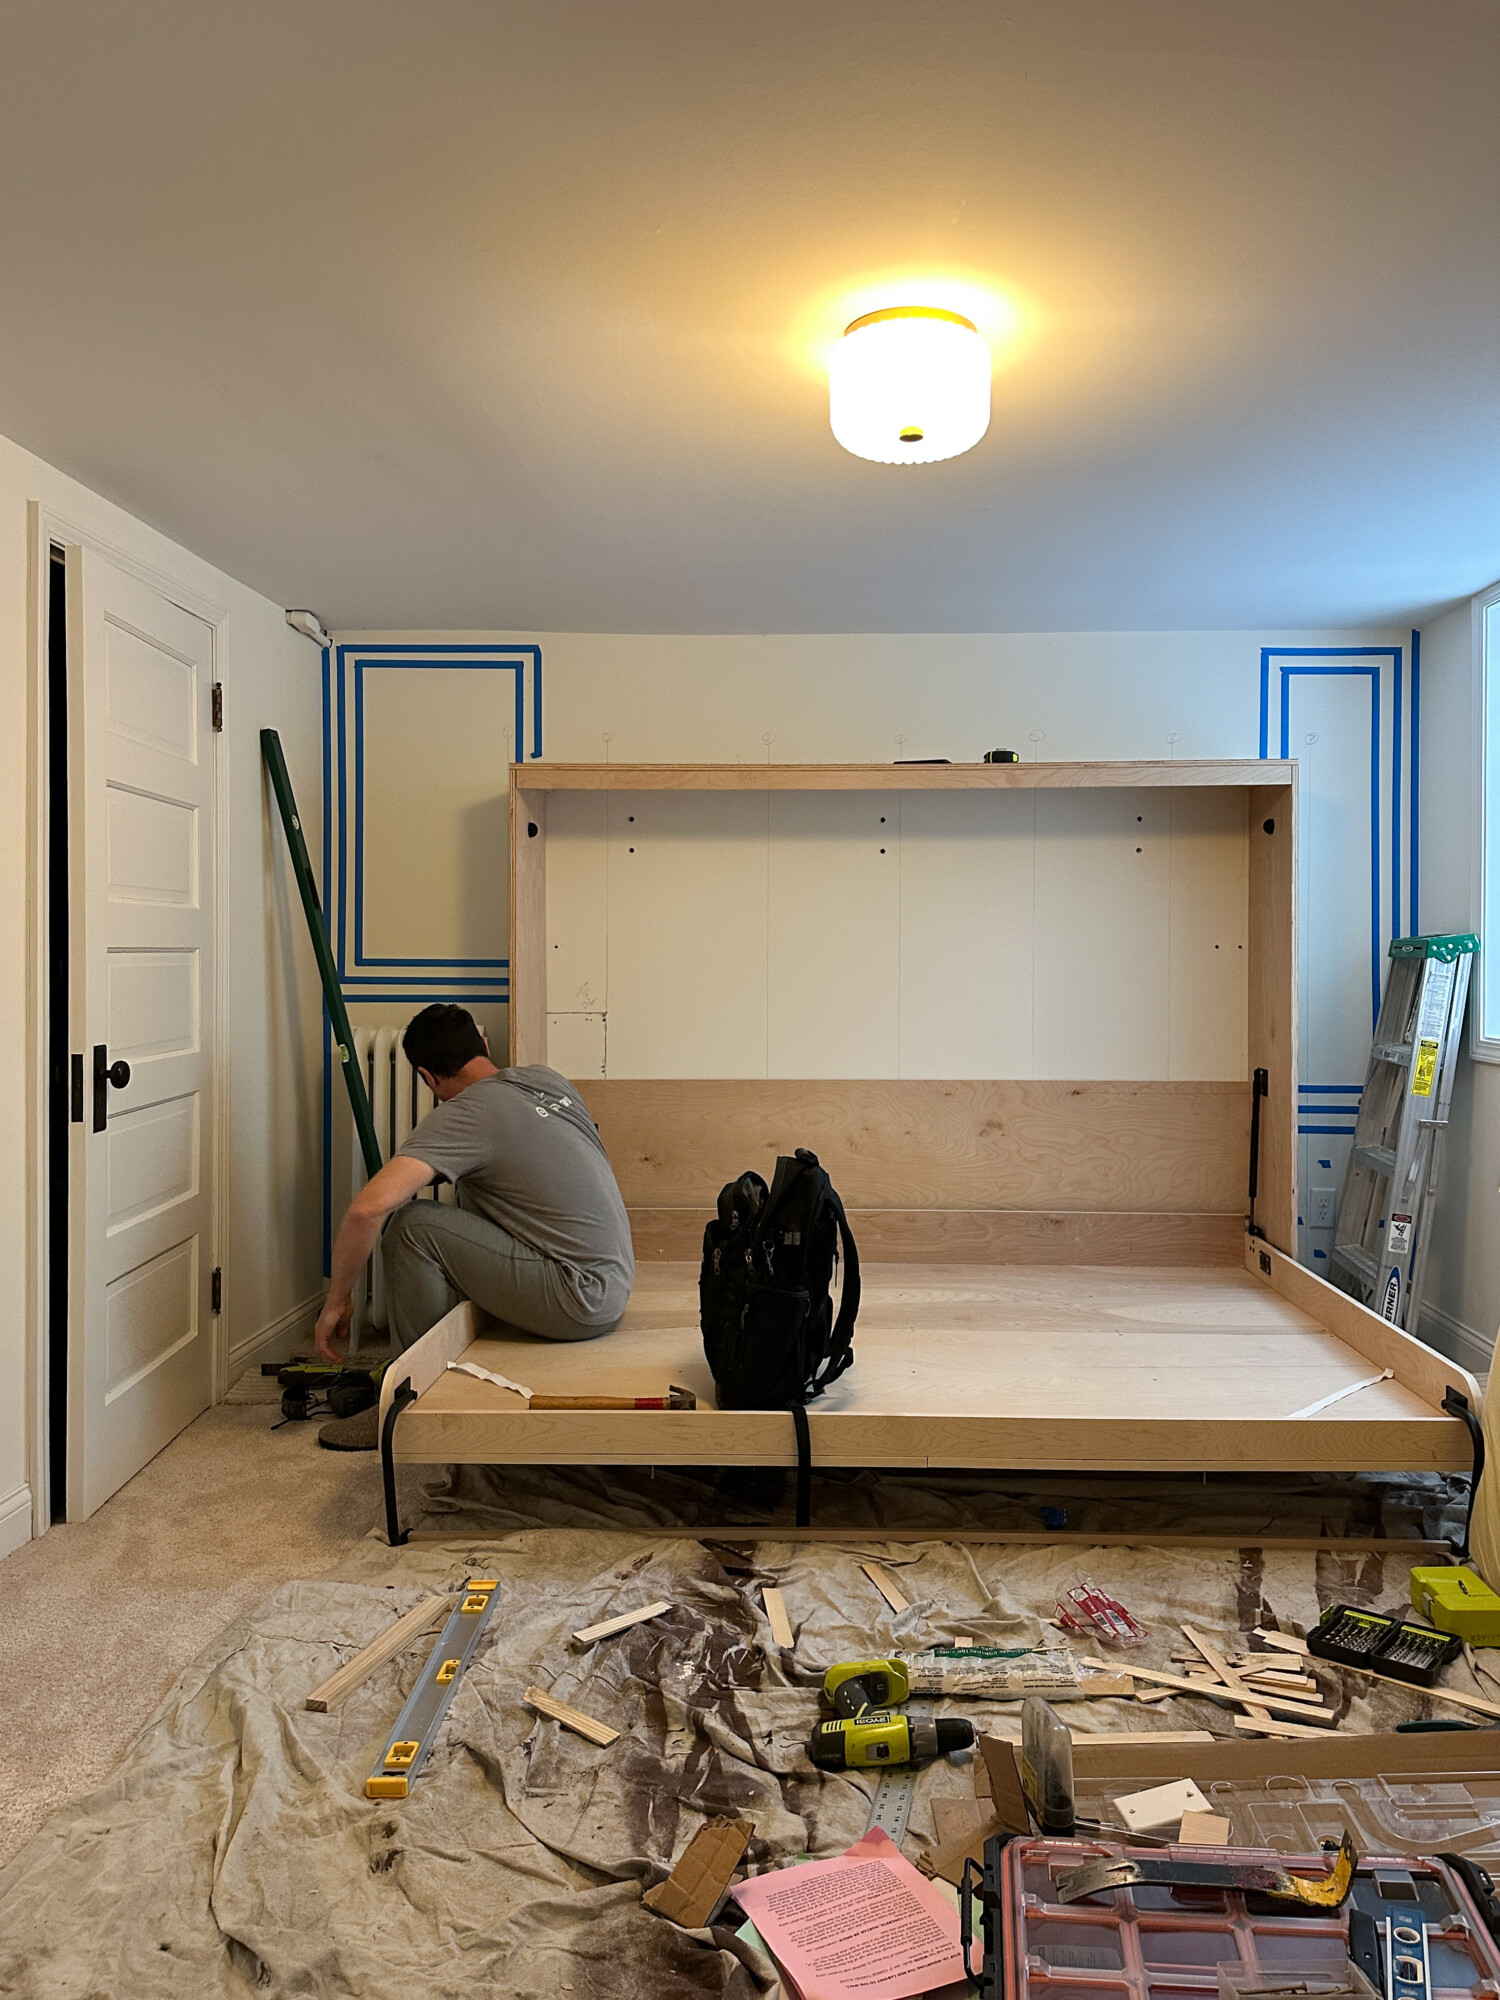
Cutting and Assembling
Begin by cutting your plywood and lumber according to the measurements taken during the planning phase. Assemble the bed platform using wood glue and screws, reinforcing joints for stability. Attach the metal lift mechanism to the platform following the manufacturer’s instructions, ensuring it’s securely fastened and level.
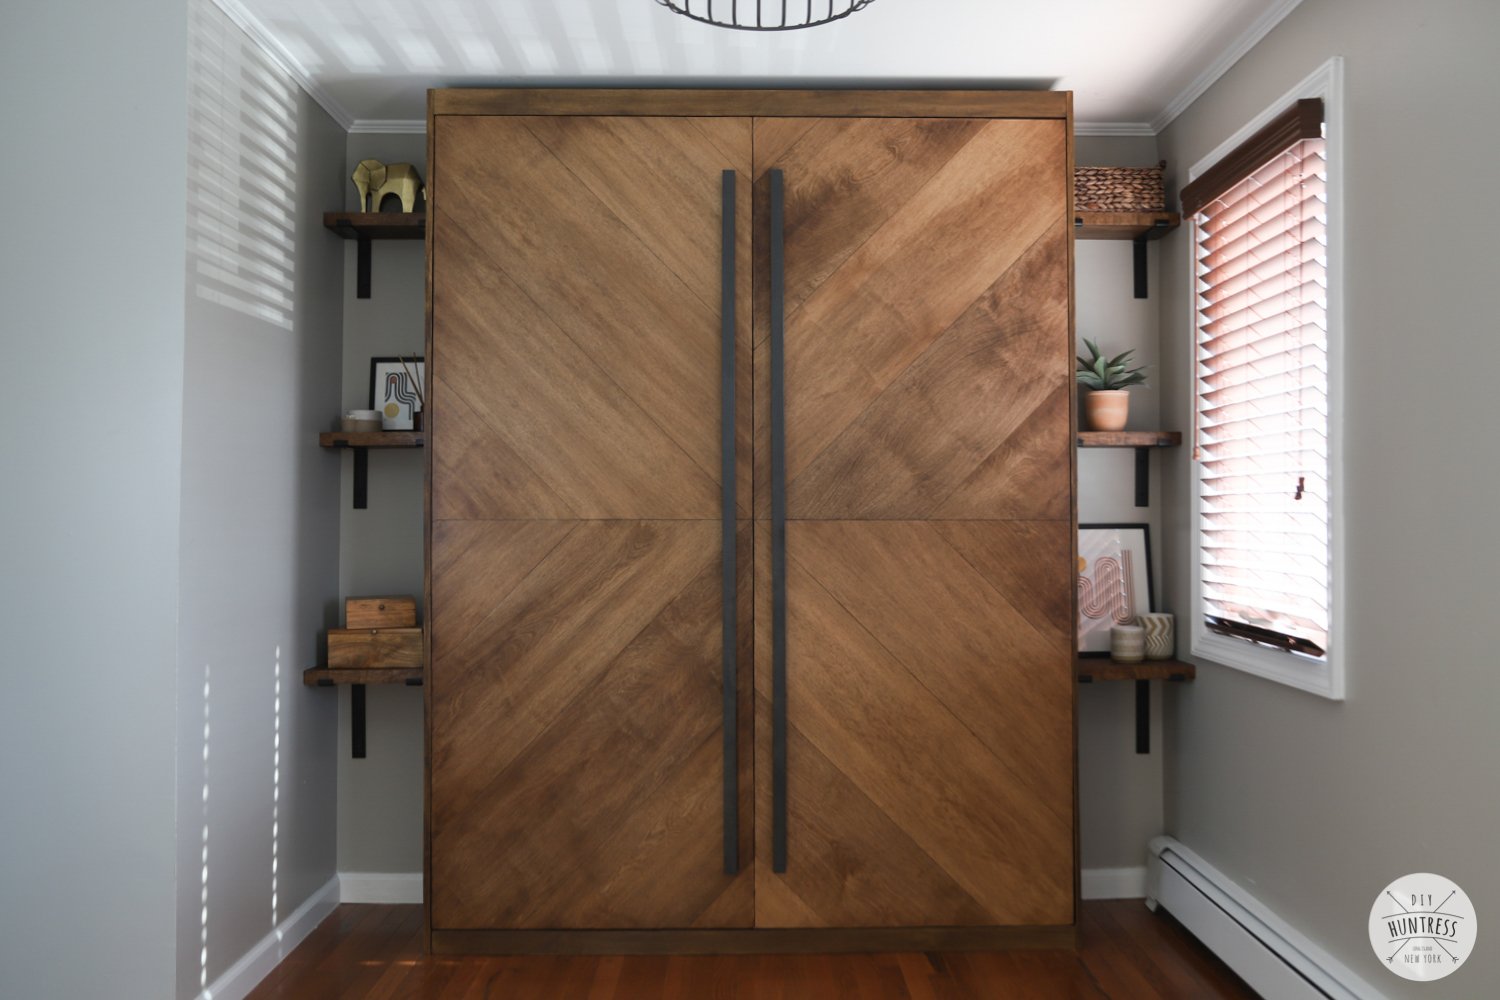
Installing the Cabinet Face
If you’re incorporating a cabinet face to conceal the bed when not in use, now’s the time to assemble and attach it. This can be as simple as attaching pre-made cabinet doors or constructing a custom frame with shelves or drawers for added functionality.
Installing the Lift Mechanism: The Heart of the Operation
The lift mechanism is the backbone of your Murphy bed. Carefully follow the instructions provided, securing it to both the bed frame and the wall studs. This step requires precision and attention to safety, as it will bear the weight of the mattress and anyone sleeping on it.
Finishing Touches: Aesthetics Meet Functionality
Sanding and Finishing
Smooth all surfaces with sandpaper, progressing from coarse to fine grits. Apply your chosen finish—whether it’s a natural stain to enhance the wood grain or a vibrant paint color to match your decor. Allow ample drying time between coats.
Mattress Selection and Installation
Choose a mattress suitable for a Murphy bed, typically no thicker than 10 inches to ensure smooth operation. Install it onto the bed platform, following any specific guidelines provided by your hardware kit.
Safety First: Securing Your Creation
Safety is paramount. Double-check all connections and fastenings. Install safety locks or latches to prevent accidental unfolding. Affix warning labels near the bed controls, reminding users to remove any objects from the bed before folding it up.
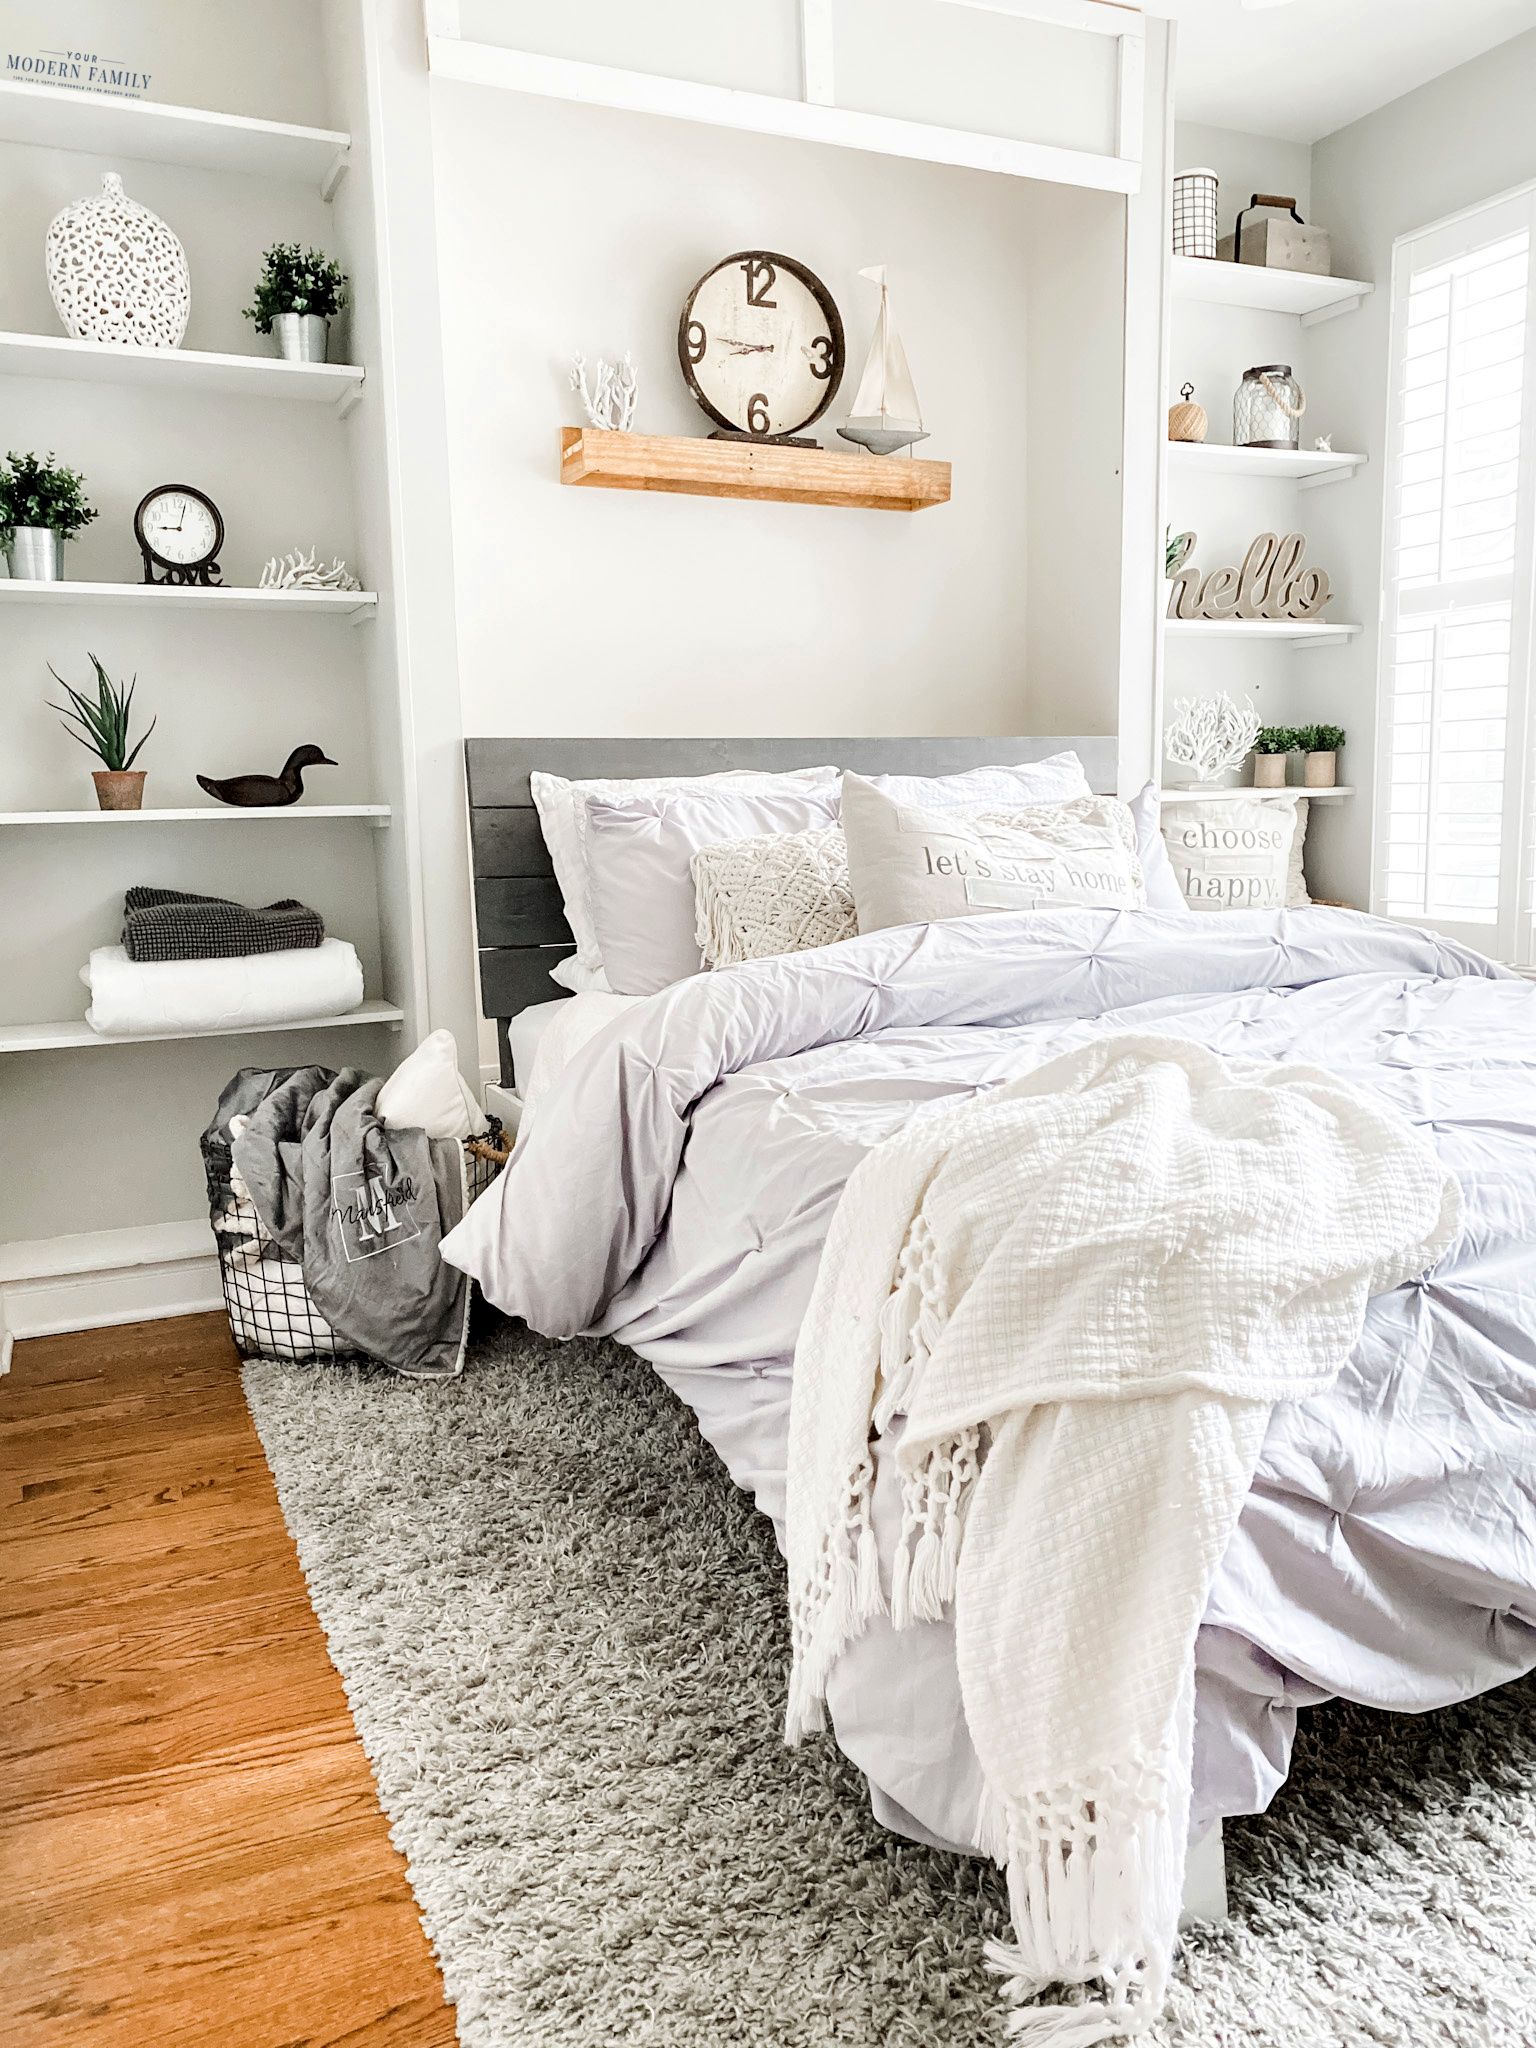
Final Touches: Integrating into Your Space
With your Murphy bed complete, integrate it seamlessly into your living space. Add decorative elements such as throw pillows or a headboard if desired, ensuring they don’t interfere with the bed’s operation. Enjoy the newfound versatility your room now offers, transforming from living area to cozy sleeping quarters in seconds.
Customizing Your DIY Murphy Bed: Personal Touches & Advanced Features
Now that you’ve mastered the basics of building a Murphy bed, it’s time to explore ways to customize your creation, infusing it with personal style and adding advanced features for enhanced functionality. From integrating smart technology to incorporating unique design elements, the possibilities for customization are endless. Let’s delve into a few creative avenues to make your Murphy bed truly exceptional.
- Integrated Lighting Solutions Brighten up your space with integrated lighting that not only serves a practical purpose but also adds a touch of elegance. Install LED strip lights under the bed platform or within the cabinet face, controlled by a switch or even motion sensors for hands-free convenience. This not only illuminates the area when the bed is in use but can also act as ambient lighting for the room when the bed is tucked away.
- Smart Home Integration Embrace the future by integrating your Murphy bed with smart home systems. Install motorized lift mechanisms that can be controlled via smartphone apps or voice commands, allowing for effortless transformation of your living space. Pair this with smart lighting and temperature control to create a fully automated experience.
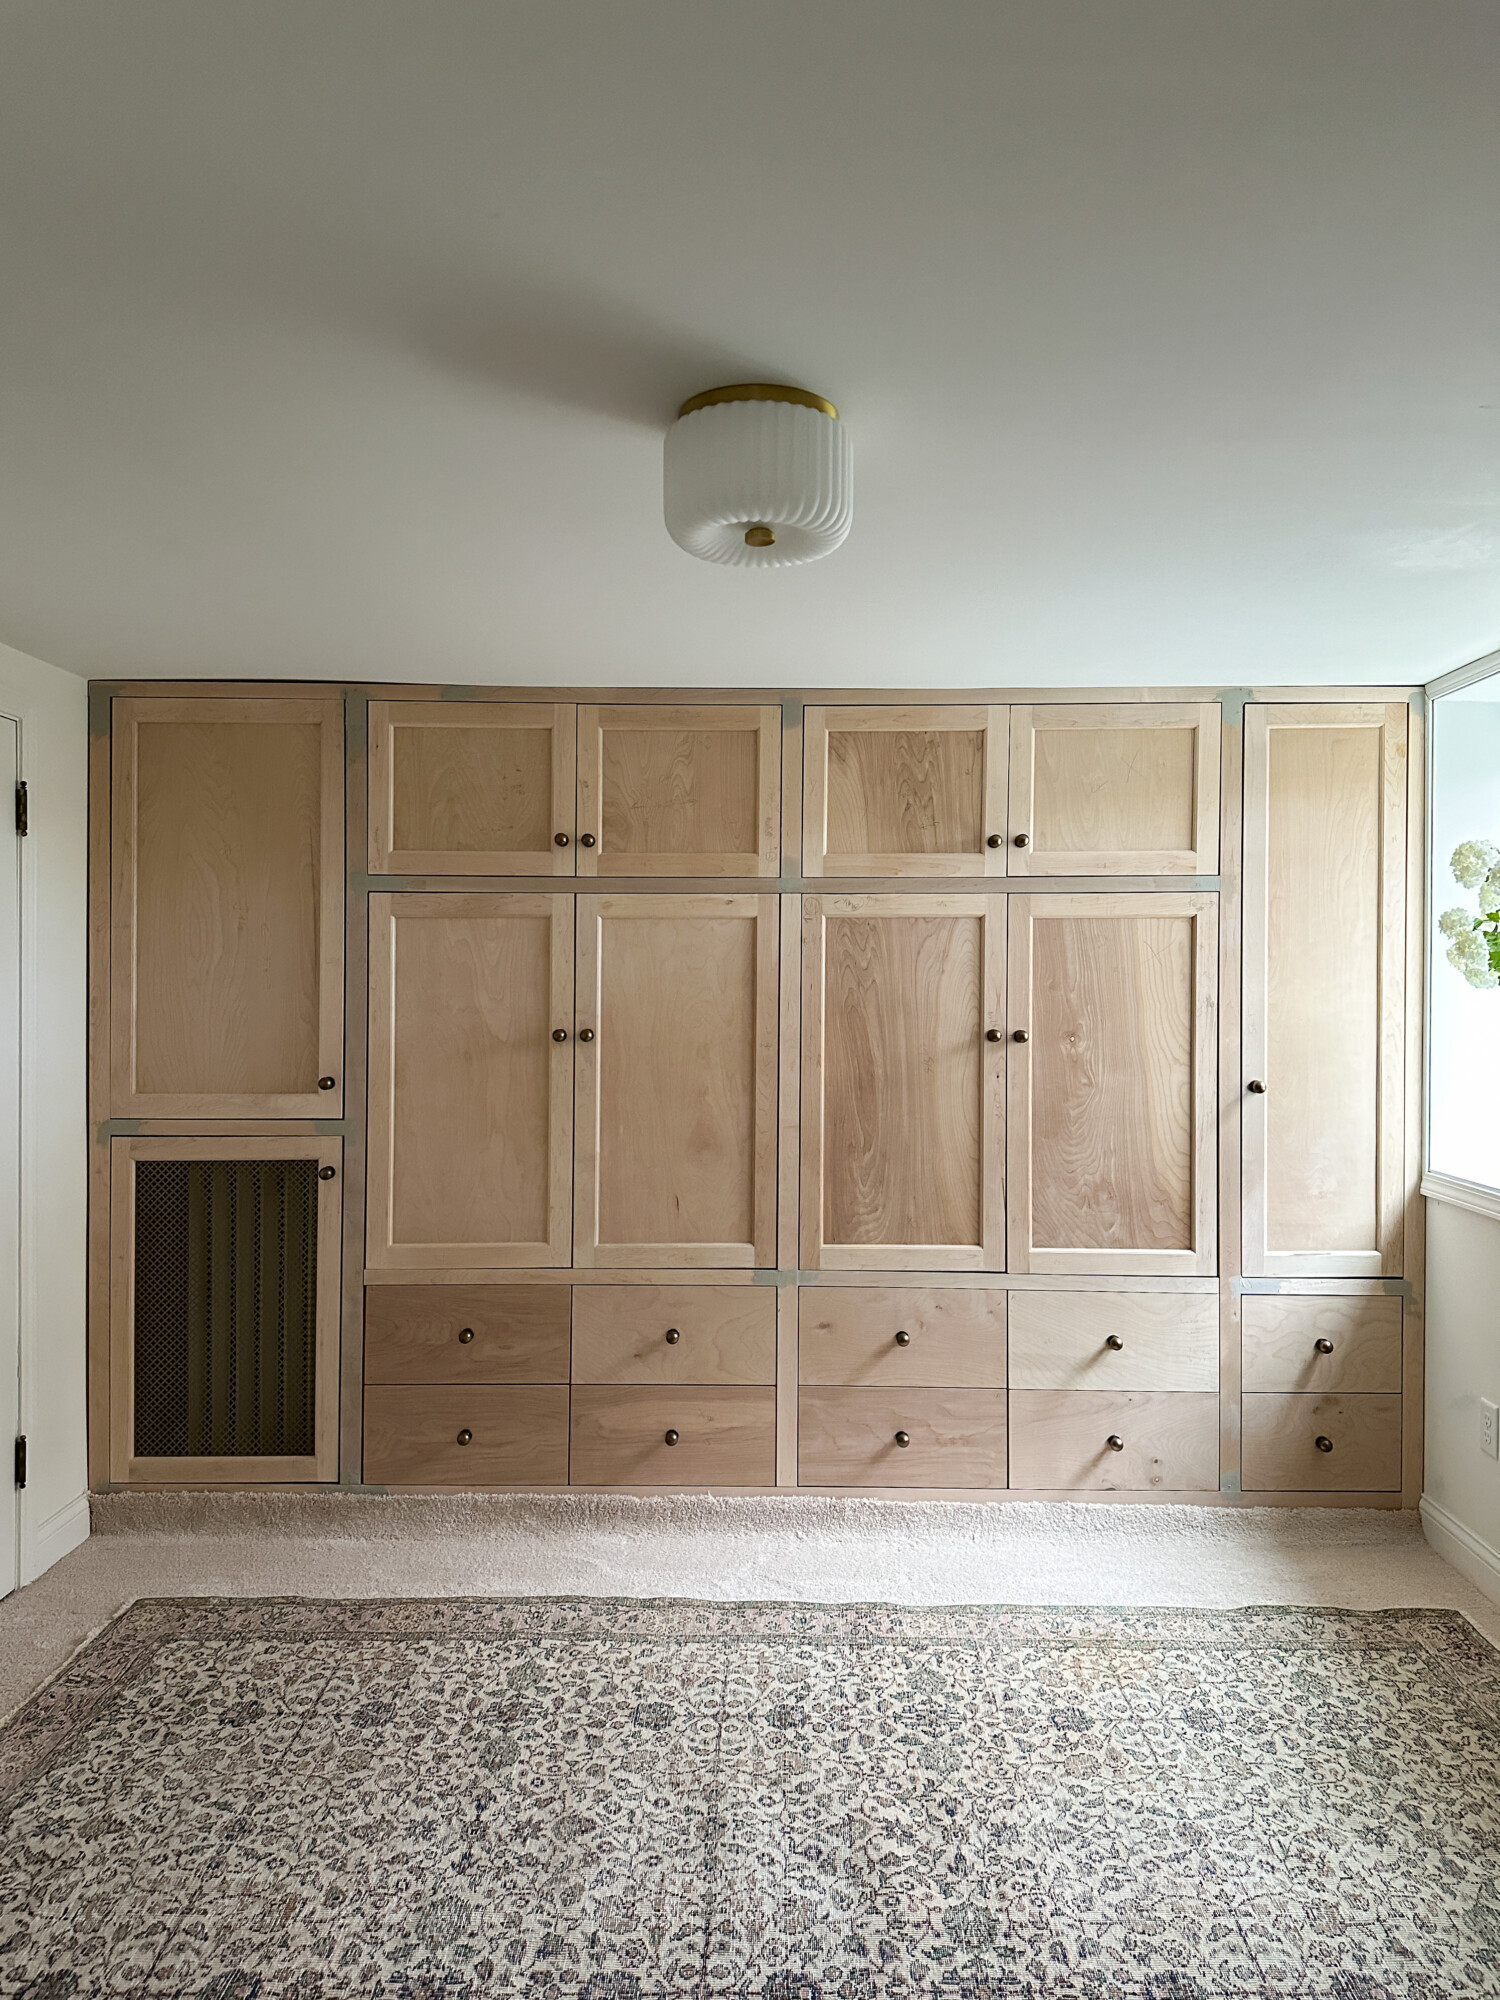
- Custom Storage Solutions Maximize storage potential by designing your Murphy bed with customized cabinets, drawers, or even a bookshelf that seamlessly integrates into the bed’s frame. This not only conceals the bed when not in use but also provides valuable storage space for books, linens, or personal items, enhancing the functionality of the unit.

Conclusion: Embrace the Space You’ve Created
Building a DIY Murphy bed is not just about saving space; it’s about reinventing your living environment, demonstrating creativity, and enhancing your lifestyle. Through careful planning, precise execution, and a touch of personal flair, you’ve crafted a piece that serves as both a practical solution and a testament to your craftsmanship. Revel in the satisfaction of having turned a small space into a multifunctional haven, where every square foot counts.